
Full 25-point door and opener safety check with every visit - springs, cables, rollers, tracks, and your LiftMaster or Chamberlain opener included
You get a price before we start. It does not change when the truck arrives.
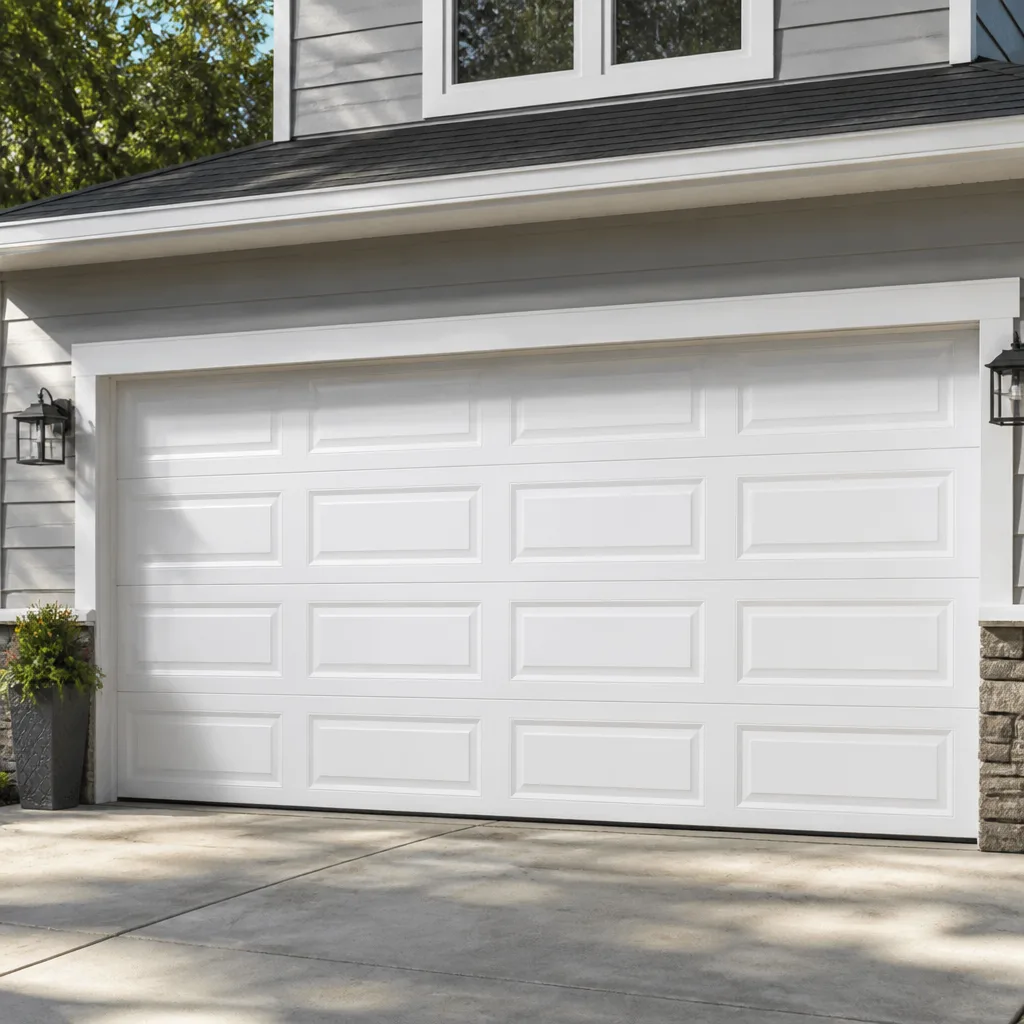
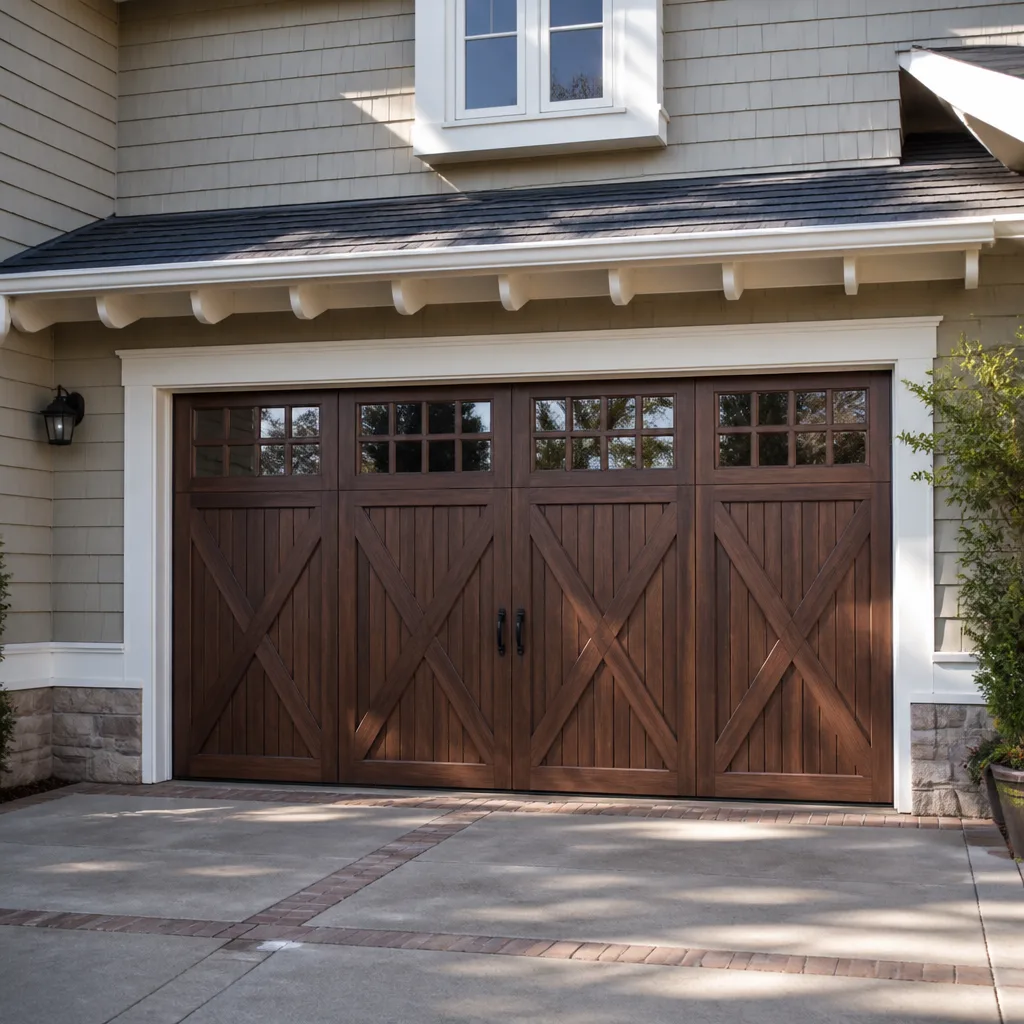
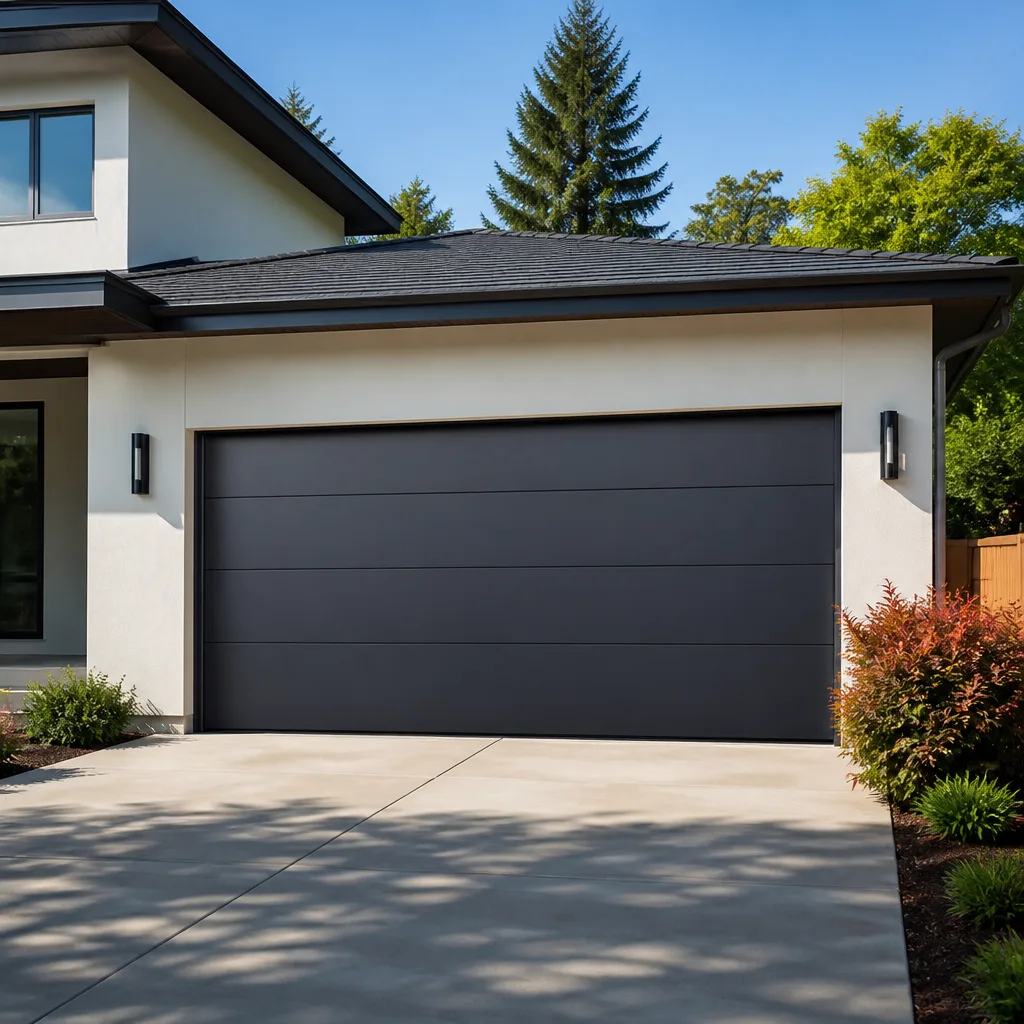
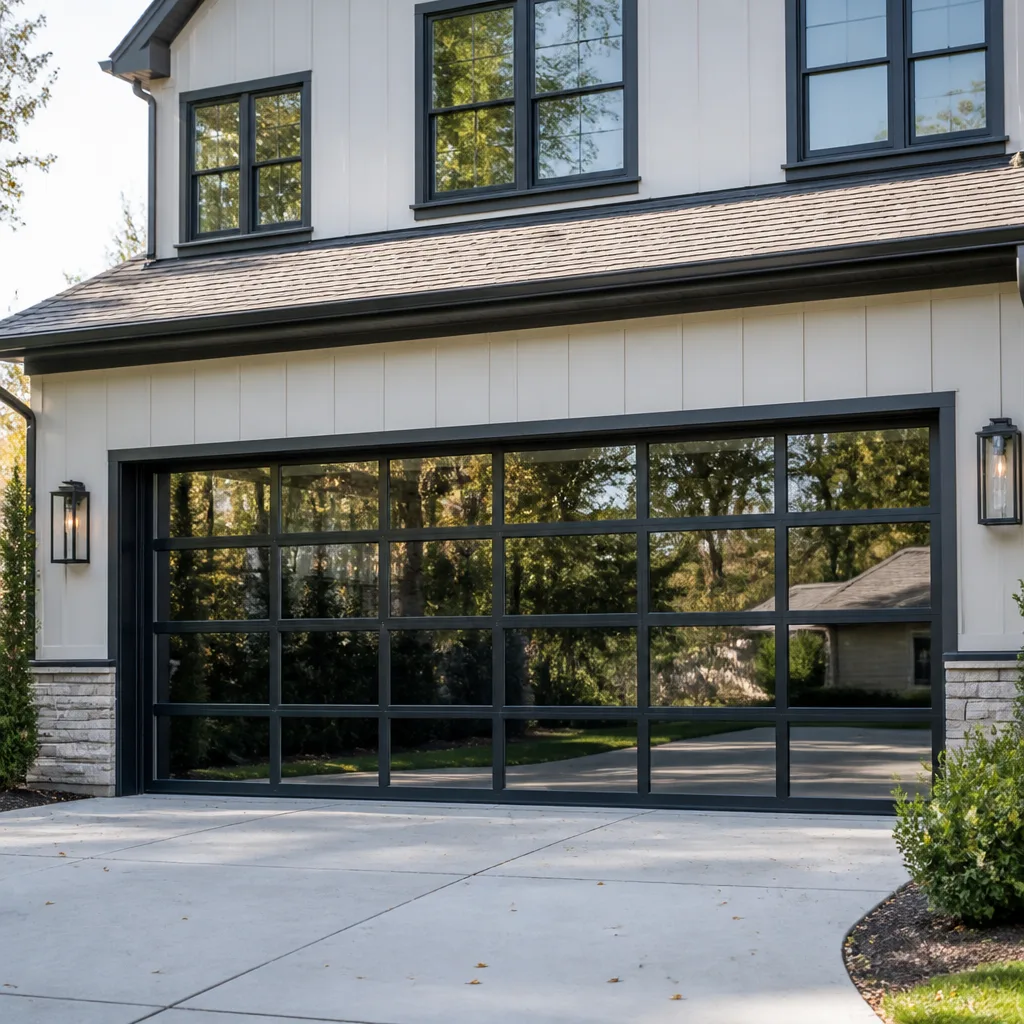
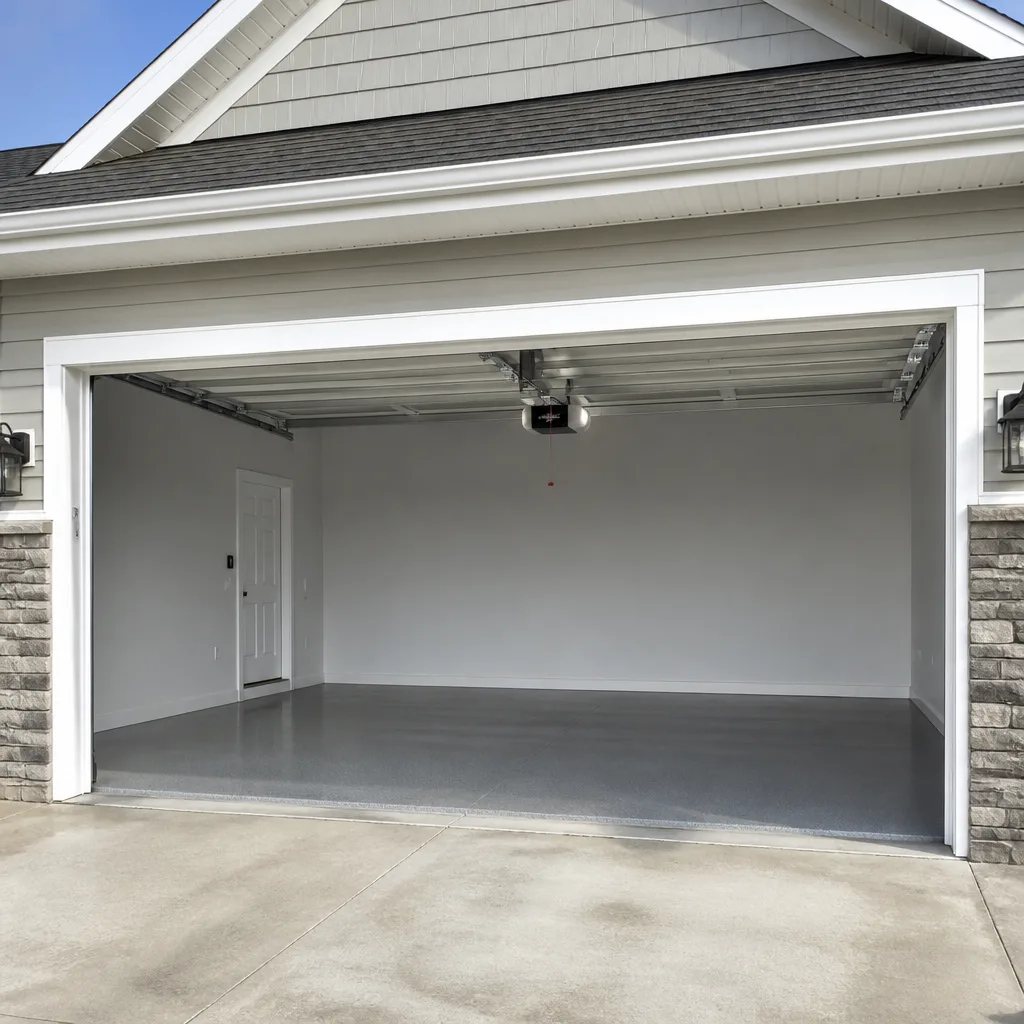
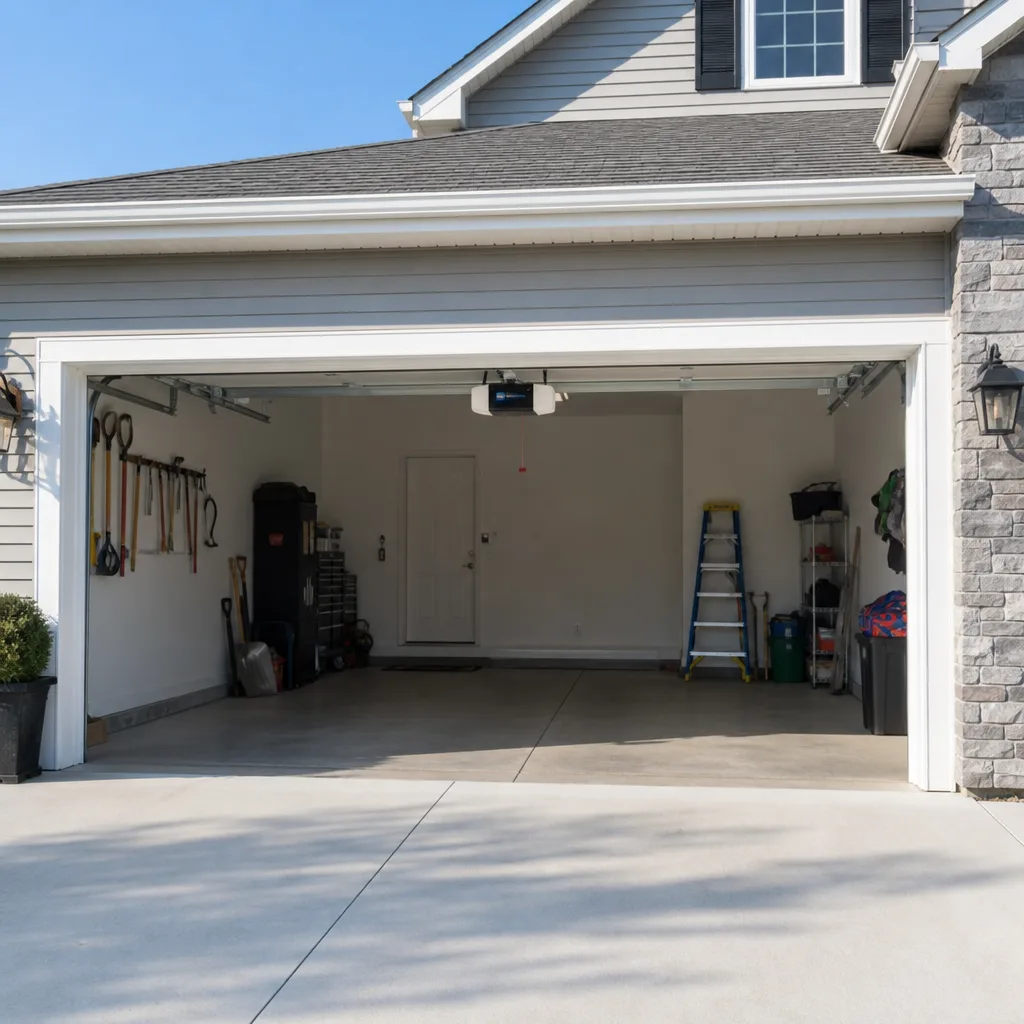
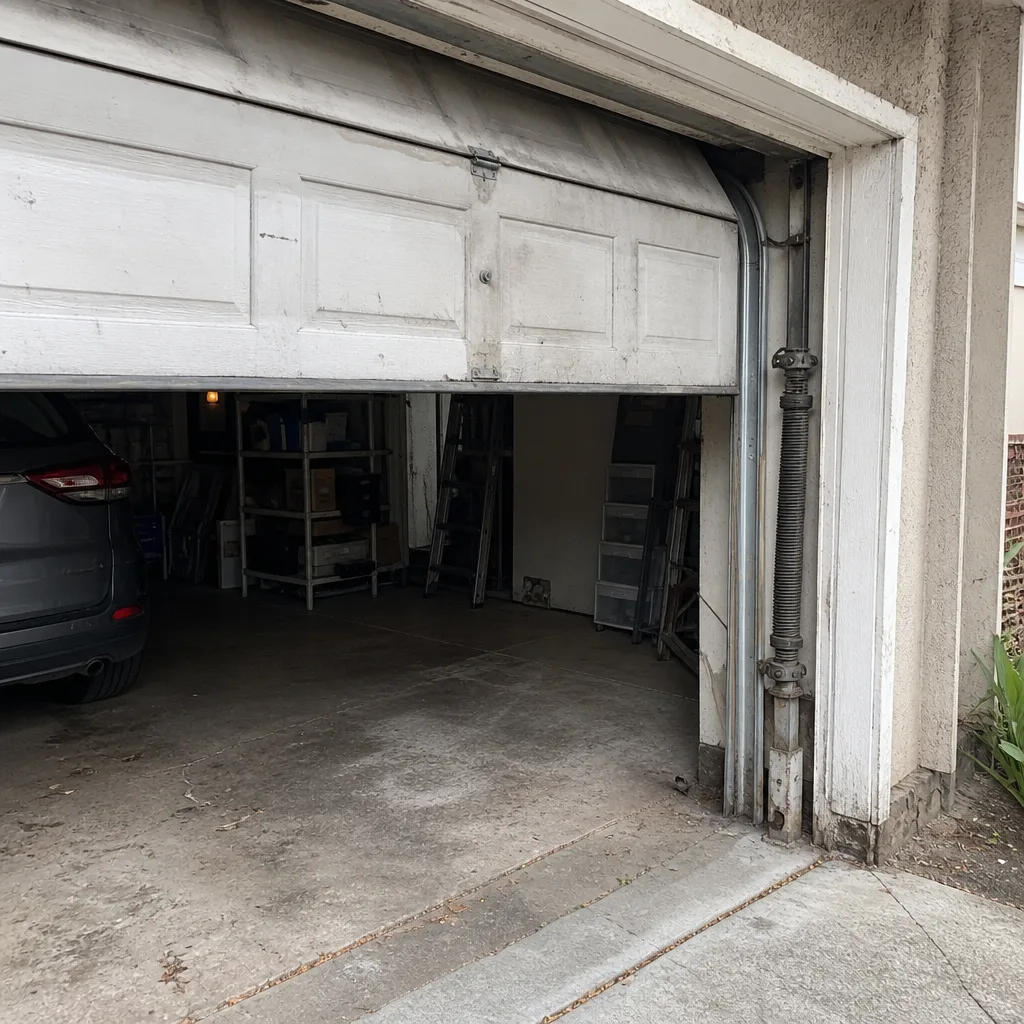 Before
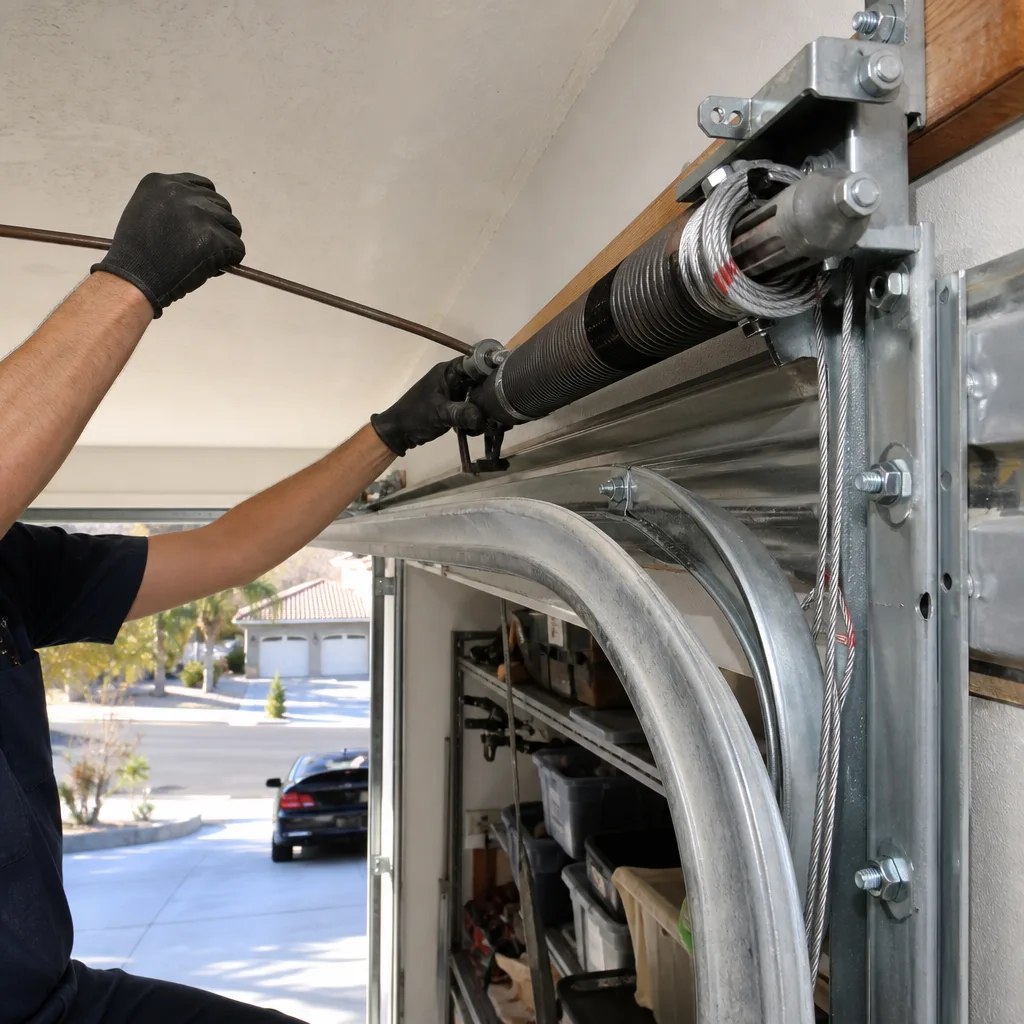 After
After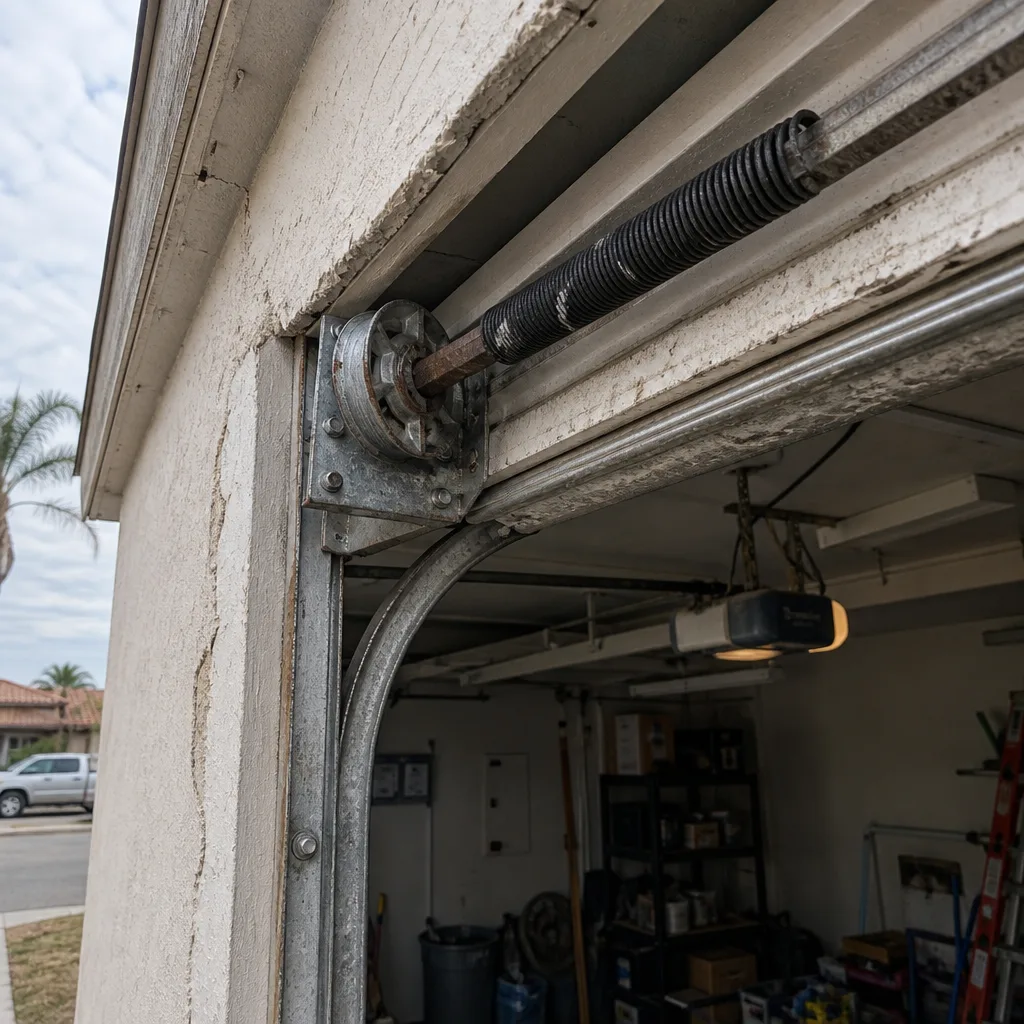 Before
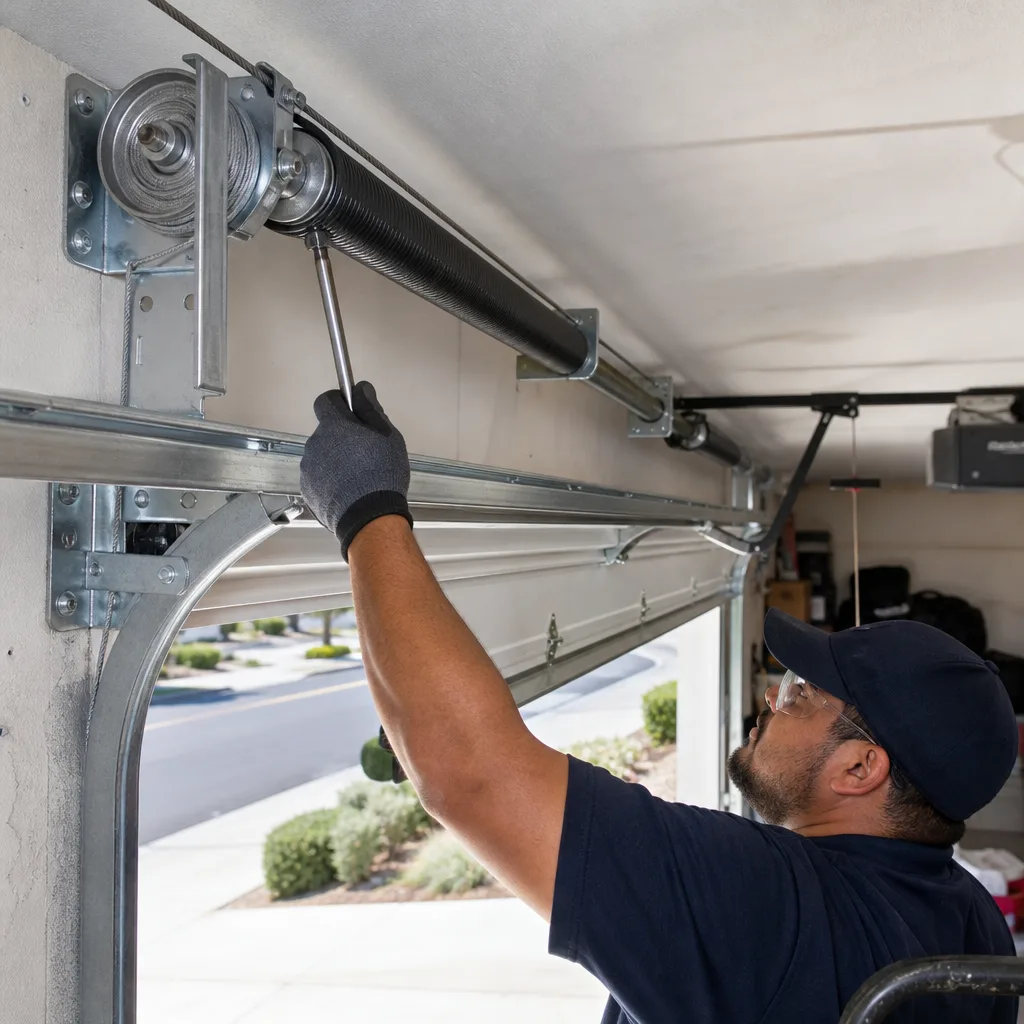 After
After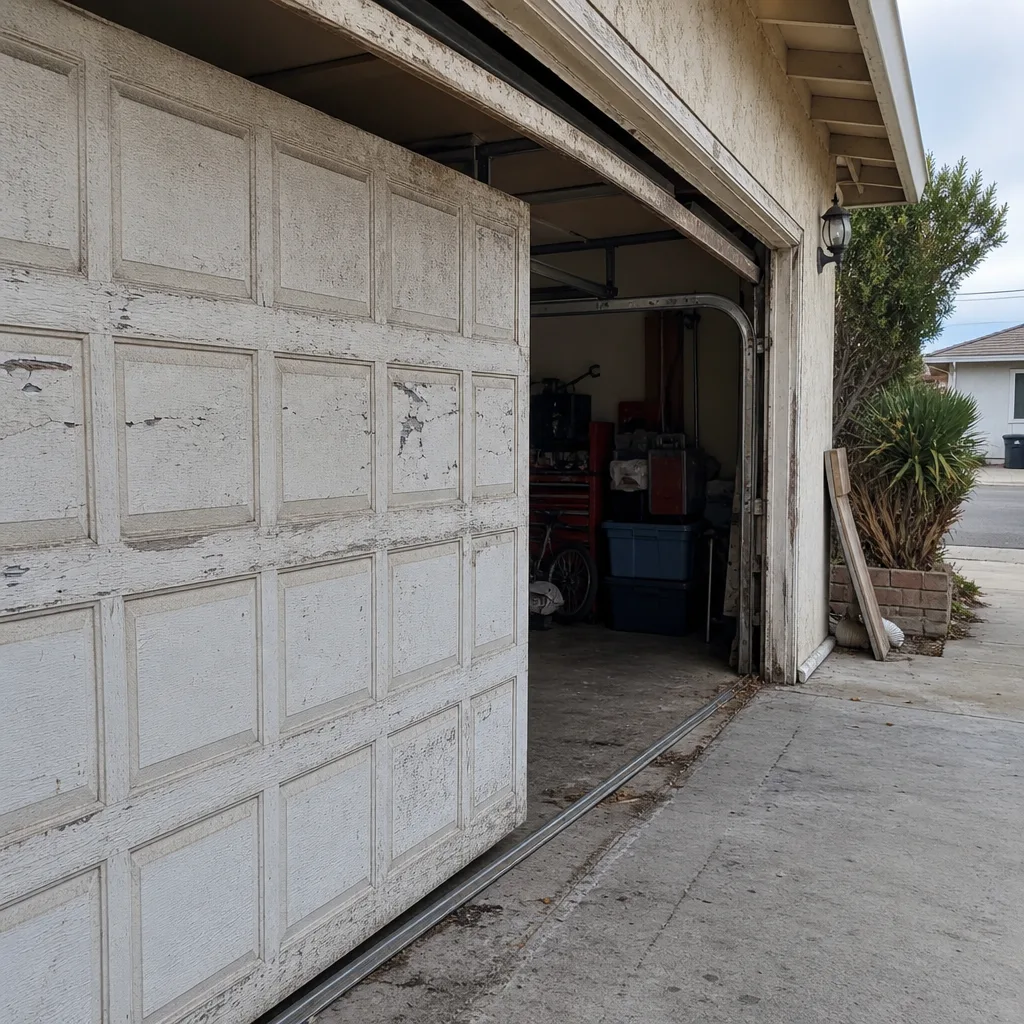 Before
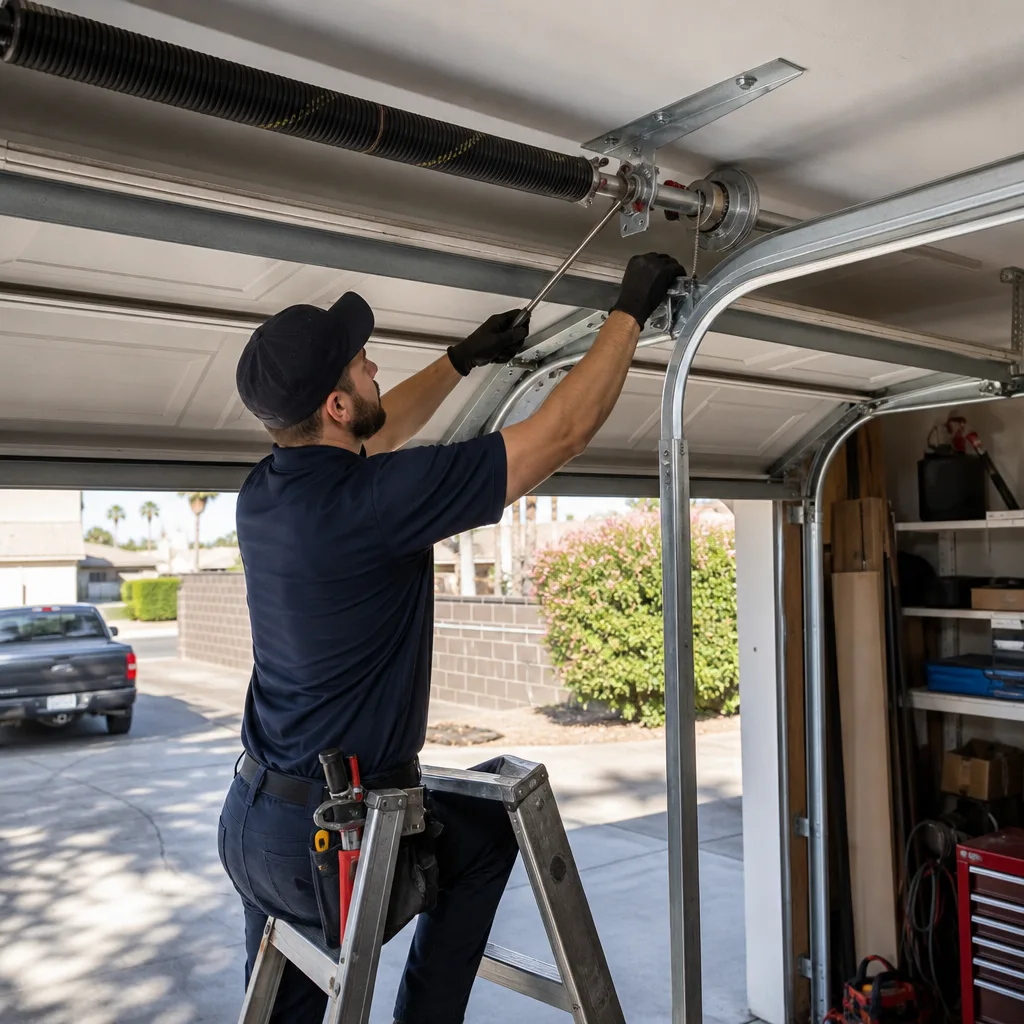 After
AfterCraftsman Opener Logic Board Repair: The Winter Gardens Owner’s Guide
If your Craftsman opener has turned moody and unpredictable, the logic board is usually the culprit. We stock and install Craftsman-compatible logic boards across most models, with repairs in Winter Gardens typically running $120 to $320 installed, parts included, and we can usually come same day when you’re stuck. Most owners discover the board has failed the hard way: the opener works fine from the wall button but ignores remotes, or it starts opening on its own in the middle of the night, or it just sits there silent while the lights flicker.
Here’s the fuller picture. A logic board is the brain inside your Craftsman opener. It takes signals from your remote, wall button, safety sensors, and limit switches, then tells the motor what to do. When that board starts dying, the door does things you didn’t ask it to do. That’s not a nuisance. That’s a 200-pound object acting on its own. We tell people in Winter Gardens the same thing every time: if your opener has developed a mind of its own, don’t wait. The board rarely fixes itself, and the failures tend to get worse.
Tell me what it’s doing wrong, and I’ll tell you what it needs. Simple as that.
Key takeaways:
- Craftsman logic board repair in Winter Gardens typically runs $120-$320 installed, depending on your model year.
- We carry boards for most Craftsman ½ HP and ¾ HP chain and belt drive models, including older 139-series units.
- Symptoms include remotes not working, random opening/closing, and wall button-only operation.
- The price you get on the phone is the price you pay, and it’s in writing before we touch anything.
Which Craftsman Models This Applies To
Most Craftsman garage door openers built after 1990 share a common logic board family, but there’s a catch: Craftsman has switched manufacturers over the years, and boards aren’t interchangeable across every series. The 139.539 series (the old workhorses from the 1990s and early 2000s) use one board family. The newer 579 series, which is essentially a Chamberlain-built unit with a Craftsman label, uses a different one. Same brand name, different brain.
Here’s how to tell what you have. Look at the back or side of the opener’s motor housing for a silver sticker with a model number starting with 139 or 579. That number is everything. The logic board itself carries a part number we can match. If you can’t read the sticker because it’s faded or covered in twenty years of garage dust, we can identify it from the opener’s age and the style of the learn button near the light lens. In Winter Gardens, we’ve replaced boards in Craftsman units going back to the 1990s, and the older ones are often easier to match than people expect.
One honest note: we’re an independent shop. We’re not affiliated with Craftsman, and we don’t pretend to be. What we do is match the right board to your unit, whether that’s a genuine Craftsman part or a quality aftermarket equivalent that does the same job for less. For most homeowners, the aftermarket board is the smarter buy. Same fit, same function, less money, and we hold the warranty on it either way.
Signs Your Craftsman Opener Logic Board Is Failing
- Remotes stopped working, but the wall button still operates the door. This is the classic logic board failure. The board’s receiver circuit goes bad while the rest of the opener still works fine. If you’ve already replaced remote batteries and reprogrammed, the board is next in line.
- The door opens or closes on its own. Random triggering almost always traces back to a failing board. It’s not ghosts, and it’s not your neighbor’s remote. A dying board fires the motor circuit without being told to.
- The opener hums or clicks but won’t run the motor. The board’s relay is going out. It’s sending a signal but not enough to actually move the door. In Summer heat here in Winter Gardens, we see this happen when thermal expansion on old solder joints finally breaks a connection.
- The lights flicker or stay on solid. Craftsman logic boards control the opener lights. When the board’s light circuit shorts, the bulbs flicker, stay on, or won’t turn on at all. This one is easy to blame on bulbs, but if new bulbs don’t fix it, the board is the problem.
- The opener won’t respond to anything, including the wall button. No power, no hum, no nothing. Sometimes it’s a dead capacitor, but often the board has failed completely. We check the capacitor first because it’s cheaper, and if it’s not that, we know it’s the board.
Replacement Cost & What’s Included
Craftsman opener logic board repair in Winter Gardens runs from $120 to $320 installed. The spread comes down to your model. Older 139-series boards sit at the lower end. Newer 579-series units with more complex boards and built-in battery backup support land at the higher end. Here’s how the numbers break down:
- Diagnostic and board for 139-series (1990s-2000s): $120-$220 installed
- Diagnostic and board for 579-series (newer models): $200-$320 installed
- If the board is fine but the capacitor is the problem: less, and we’ll tell you that on the spot
Every price is quoted before we start and written down. You’ll know exactly what you’re paying before we turn a screw. And if we open the unit and find the board is fine and something else is the issue, we tell you what that is and what it costs before we fix anything. No surprises. That’s the 90-Day Done Right Promise, written on every invoice, and one call to Otto brings us back if something’s not right.
Opening a garage opener and testing a logic board isn’t a troubleshooting hobby project. The opener runs on household current, and the capacitor inside holds a charge even when it’s unplugged. That charge can knock you on your back. If you’re going to open the case, unplug it first and don’t touch the capacitor leads. Better yet, let us do it.
DIY or Call Us?
Here’s what’s safe to check on your own. Replace your remote batteries. Reprogram the remote using the learn button. Make sure the safety sensors at the bottom of the door are aligned and the lenses aren’t blocked. Check the breaker. That’s a fair amount, and sometimes one of those cheap fixes is all you need.
Here’s where DIY goes wrong. Opening the opener housing to test or replace a logic board means handling 120-volt wiring and a capacitor that can store a charge after unplugging. If you get zapped, that’s a bad Tuesday. If you miswire the board, you can fry the new one we’re going to install anyway. We’ve fixed more DIY logic board attempts than we can count, and many of them cost more than if we’d done the job first. The board swap itself usually takes under an hour. Call us at (619) 935-3793 and we’ll give you an honest price before we come out. A live person answers, day or night. Often that person is Otto.
FAQs
Most logic boards last 10 to 15 years, but in Winter Gardens the summer heat shortens that. High garage temperatures stress the solder joints and capacitors over time, and we’ve replaced boards in units as young as 8 years old. If your opener is past the 12-year mark and doing odd things, you’re on borrowed time. Call (619) 935-3793 for a quick assessment.
We can sometimes repair a logic board by replacing individual capacitors or reflowing solder joints, but honestly, the repair usually costs about as much as a replacement board once labor is added. We’ll tell you straight if a board can be saved or if replacement is the smarter money. Estimates are free.
The swap itself typically takes 30 to 45 minutes once we’re at the door. The diagnostic takes a few minutes on top of that. Most Winter Gardens calls are done in under an hour, and we test the door through a full open-and-close cycle before we leave.
We carry the most common Craftsman-compatible boards on the truck, along with boards for LiftMaster, Chamberlain, and Genie openers. If your model needs something unusual, we can usually source it within a day or two and install it then. One trip, one fix.
Written by Otto Reinhardt, Owner, Otto’s Garage Door at Otto’s Garage Door, serving Winter Gardens and nearby areas.