
Last updated September 10, 2026
Full 25-point door and opener safety check with every visit - springs, cables, rollers, tracks, and your LiftMaster or Chamberlain opener included
You get a price before we start. It does not change when the truck arrives.
 Before
 After
After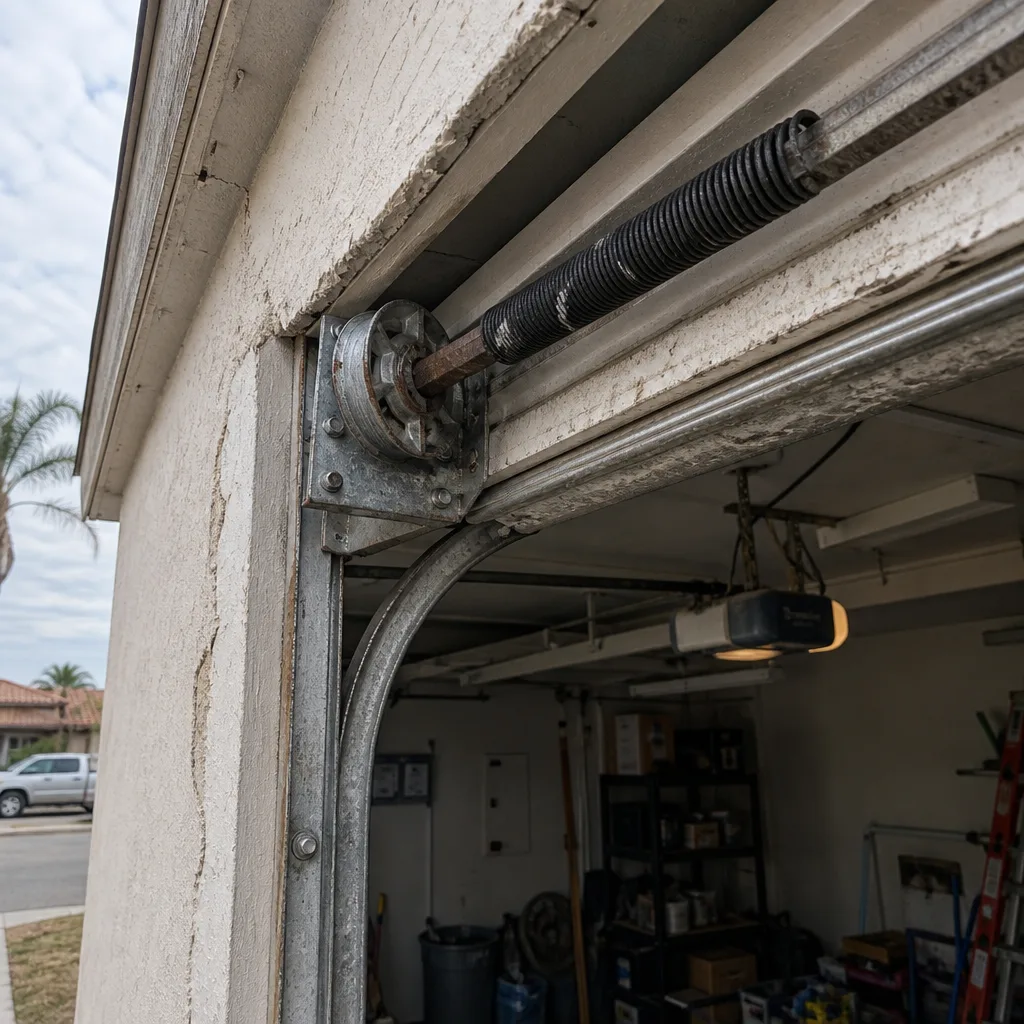 Before
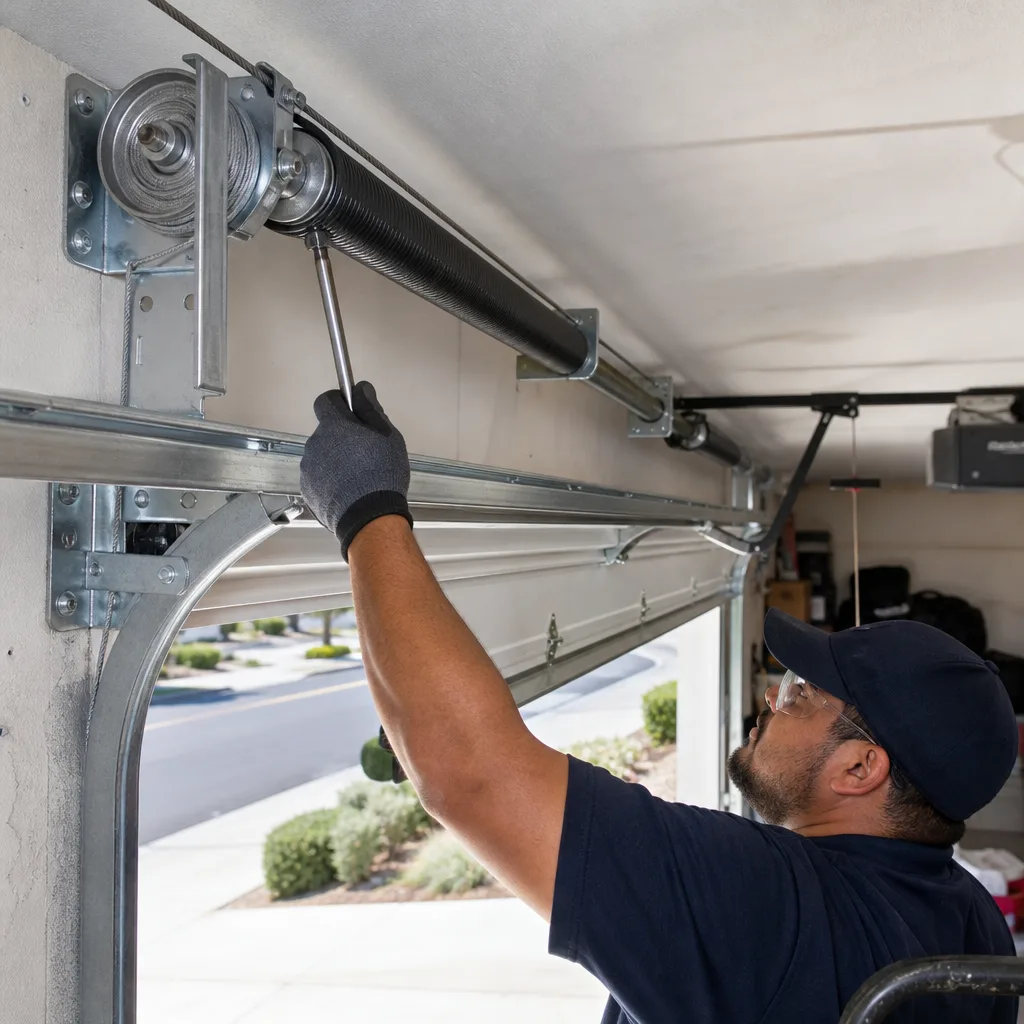 After
After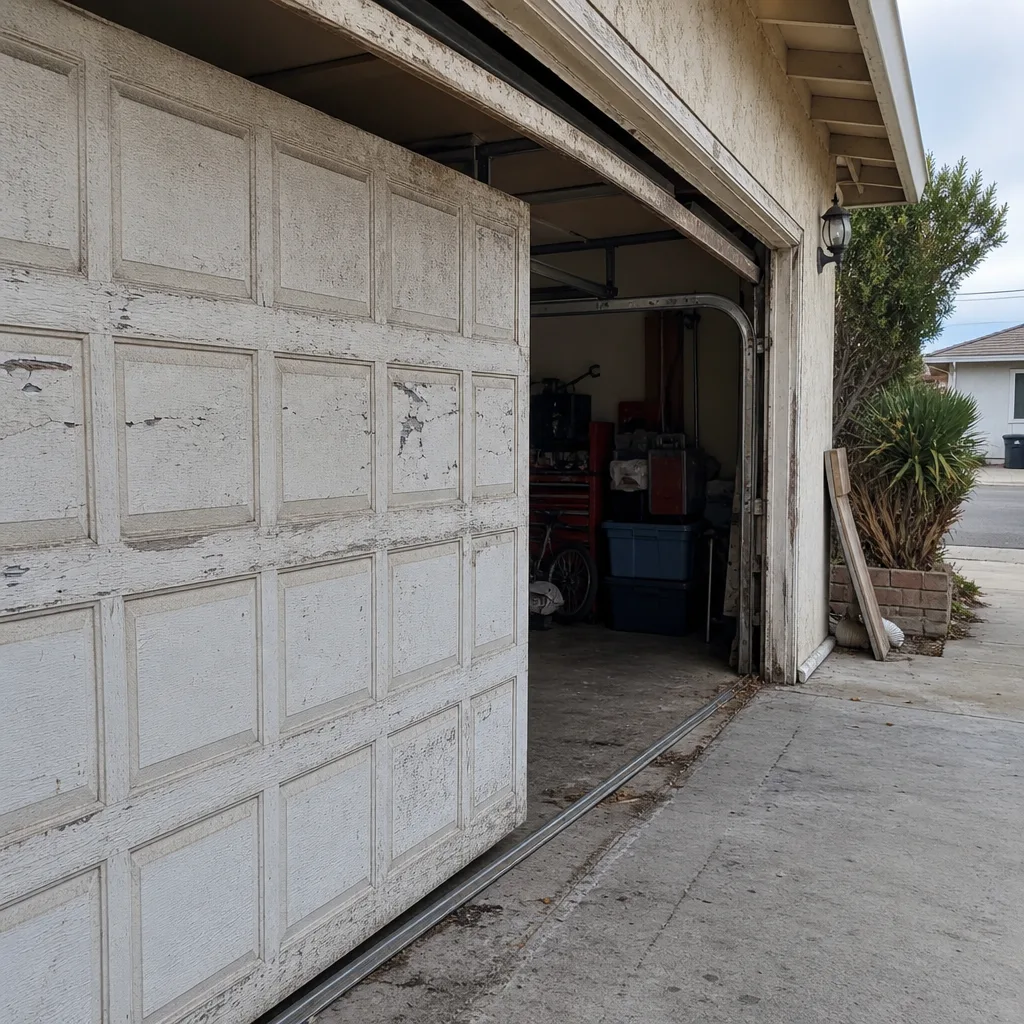 Before
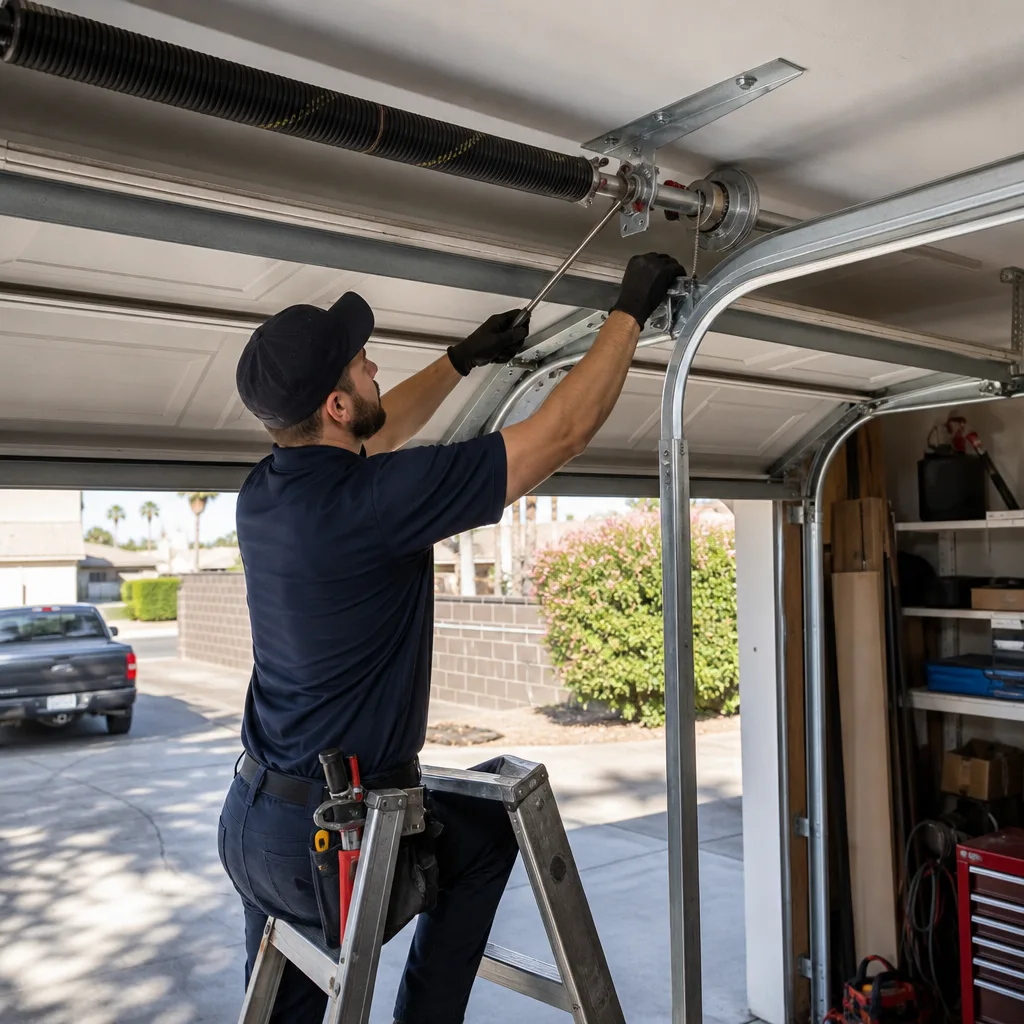 After
AfterDIY vs Professional Garage Door: The Winter Gardens Homeowner’s Decision Guide
A torsion spring under full tension stores enough energy to lift a 200-pound door roughly 10,000 times, and when that spring lets go, it does not ask permission. Every year, homeowners end up in emergency rooms with shattered hands, broken jaws, and worse because a YouTube tutorial made spring replacement look like changing a bicycle tire. This guide is not going to do that. We will draw an honest line between the garage door work you can absolutely do yourself in Winter Gardens and the work that needs a pro, and we will show you exactly where that line sits, why it sits there, and how to save real money without gambling your fingers.
Quick Answer
Most Winter Gardens homeowners can safely handle lubrication, sensor cleaning and alignment, weatherstrip replacement, remote reprogramming, and basic visual inspections. You should not touch torsion springs, lift cables, or track realignment under load with DIY tools - those jobs can maim or kill and often require a pro. The smartest move is to do the safe maintenance yourself and call a licensed local shop like Otto’s Garage Door home for anything involving spring tension, cables, or a door that is off its track.
Table of Contents
- The Real Line Between DIY and Professional
- Why Torsion Springs Are Different: The Physics Nobody Explains
- Genuinely DIY-Safe Tasks: What You Can Do This Weekend
- Never DIY: The Tasks That Send People to the ER
- The Warranty Clause: When DIY Voids the Paperwork
- Break-Even Math: Tool Costs vs. Calling a Pro
- How to Describe the Problem So a Tech Can Tell You the Truth
- Winter Gardens Context: What Our Climate Does to Your Door
- Common Mistakes to Avoid
- When to Call a Professional
- Frequently Asked Questions
- The Bottom Line
The Real Line Between DIY and Professional
Here is the honest truth about garage door work: the line between what you can safely do yourself and what you should not touch is not about skill level. It is about stored energy. A garage door weighs between 130 and 250 pounds depending on size and material, and that weight is counterbalanced by springs that are under enormous tension even when the door is sitting still. The parts you can safely handle are the ones that are not under that tension: rollers, hinges (when the door is fully open and springs are relaxed), sensors, remotes, weatherstripping, and lubrication points.
The parts you cannot safely handle are anything connected to the spring system, the lift cables, or the structural alignment of the door. A cable snaps under load, the door drops, and whatever is underneath it takes the full impact. In Winter Gardens, where many homes sit on graded lots and garage floors can settle over time, we also see misaligned tracks that make otherwise safe jobs riskier because the door is not balanced.
What surprises most homeowners is that the DIY-safe list is longer than they expect. You can genuinely maintain your door, extend its life by years, and avoid most service calls with about $25 of supplies and an hour on a Saturday. The danger zone is narrow but unforgiving, and understanding exactly where it starts is the difference between saving $200 and losing a finger.
Why Torsion Springs Are Different: The Physics Nobody Explains
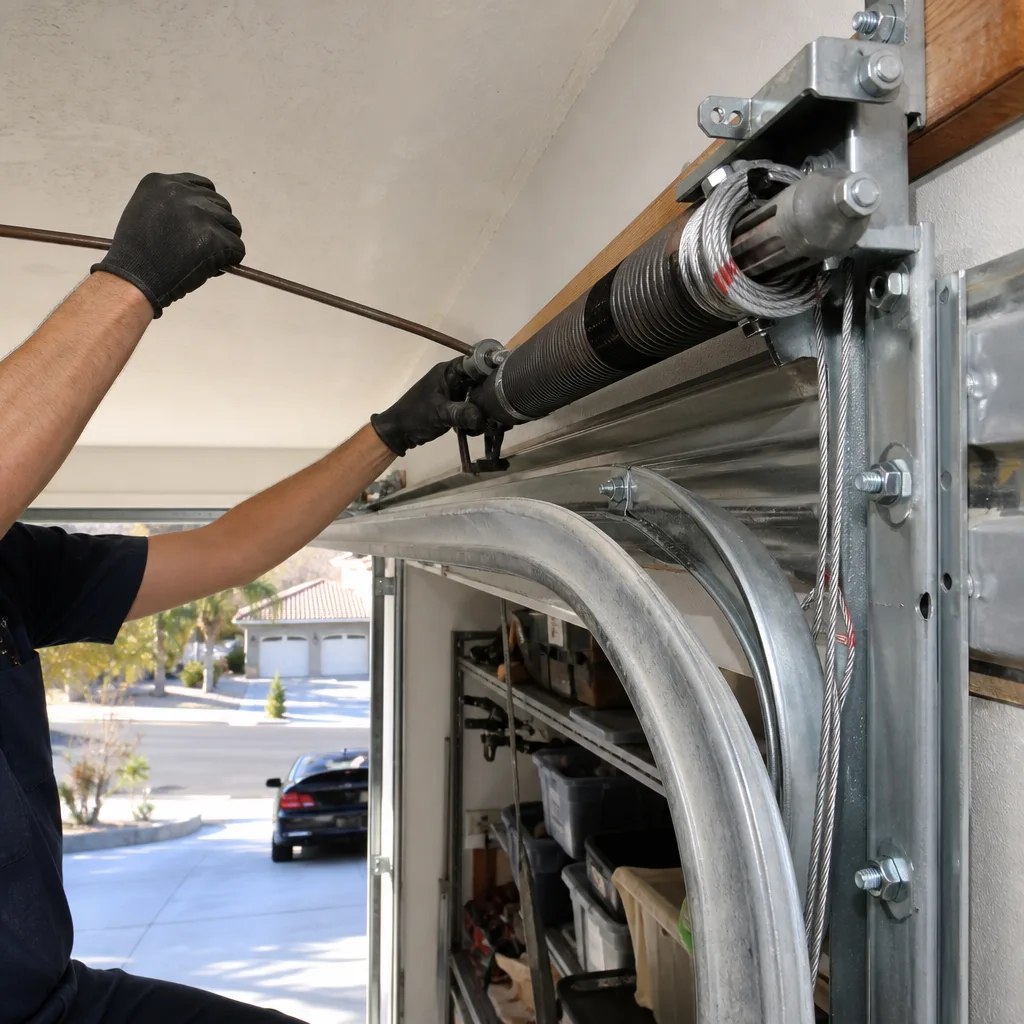
A standard residential torsion spring in a Winter Gardens two-car garage is wound to hold between 50 and 80 pounds of torque per square inch at full tension. When you see a spring on the shaft above your door, it looks harmless because it is a coiled piece of steel doing nothing. It is not doing nothing. It is holding the entire weight of your door, and the energy inside that coil is roughly equivalent to the muzzle energy of a .22 caliber bullet. The difference is that a bullet travels in one predictable direction. A snapped spring travels unpredictably, and it is attached to a steel winding cone that becomes a projectile.
Most DIY tutorials show spring replacement from the perspective of someone who has done it fifty times. They do not show what happens when the winding bar slips out of the cone at three-quarters tension. That moment, the bar itself becomes a projectile moving fast enough to break bone, and your hand is usually six inches away from it.
Professional spring work does not just mean having the right tools. It means knowing the spring’s cycle rating, matching the correct wire gauge and inside diameter to your door’s weight, and understanding how to unwind a broken spring safely when you cannot see its original length. Otto Reinhardt, who has been doing this in Winter Gardens since 2004, counts spring cycles the way you count tire miles. He will tell you what is left on yours before he touches anything, because the wrong replacement spring is just a future emergency waiting to happen.
Genuinely DIY-Safe Tasks: What You Can Do This Weekend
You own your home, not a service contract. There is real satisfaction in keeping your door running smoothly with your own hands, and these tasks are genuinely safe to do with zero specialized tools.
Lubrication
The metallic grinding you hear when the door moves? That is friction between steel rollers and steel tracks, and it is the most common cause of premature wear in Winter Gardens. Get a can of white lithium grease or a silicone-based garage door lubricant from any hardware store. Spray the rollers, hinges, bearing plates, and the torsion spring itself. Do this twice a year. It takes ten minutes and adds years to your door’s life.
Sensor Cleaning and Alignment
If your door reverses immediately or will not close, the photo-eye sensors at the bottom of the tracks are usually the culprit. Wipe the lenses with a soft dry cloth. Check that both sensors are pointing directly at each other and that the small LED light on each is solid, not flickering. If one is blinking, it is misaligned, and a gentle nudge usually fixes it. This is the single most common reason a door will not close, and it costs nothing to fix.
Weatherstrip Replacement
The rubber strip along the bottom of your door degrades in the Winter Gardens heat. When it cracks, you lose climate control and gain dust, pests, and water. Buy a new weatherstrip for about $20, remove the old one from the aluminum retainer, and slide the new one in. No tools beyond a pair of scissors. This is a ten-minute job that pays for itself in one summer month.
Remote Reprogramming
If your opener uses a Chamberlain, LiftMaster, or Craftsman remote, reprogramming after a battery change or a new remote purchase is genuinely simple. Hold the learn button on the opener unit, press the remote button within 30 seconds, and the pairing is done. The manufacturer instructions are clear, and there is no physical risk involved.
Visual Inspection
Once a month, stand inside your garage with the door closed and look at the lift cables on both sides. They should be taut and straight, with no fraying. Look at the rollers in the tracks. Look at the spring above the door for gaps or rust. If everything looks intact, you are good. If you see a gap in the spring or frayed cable strands, stop and call before you open the door again - our Garage Door Repair Maintenance Checklist for Winter Gardens Homeowners walks you through each step.
These five tasks cover 80% of what keeps a garage door running well and healthy. Everything above this line is yours.
Never DIY: The Tasks That Send People to the Emergency Room
Now the other side of the line, and we will be direct about it because your safety matters more than our schedule.
- Torsion spring replacement or adjustment. This kills and maims homeowners every year. The spring is under thousand-pound tension, and the winding bars can become projectiles if anything slips. Even professionals approach this with respect and specific tools. Never attempt it.
- Extension spring replacement. These are the springs that run parallel to the horizontal tracks. They stretch under load, and when they snap, they become steel whips. If your door has extension springs, you need a professional.
- Lift cable replacement. Cables are what hold the door when the spring fails. They are under load every time the door moves. If one snaps, the door drops. Replacing a cable requires releasing the spring tension safely first, which means it is spring work by another name.
- Track realignment under load. If your door is off its track and the door is down, there is weight on the rollers. Pushing or prying at that point can release the door’s weight onto you. A door needs to be braced and the springs relieved before track work happens.
- Bottom bracket replacement. The bottom brackets are anchored to the lift cables, which means they are connected to the spring system. Removing them without releasing tension puts you directly in the danger zone.
If you are looking at any of these, the decision is already made. Call a professional. In Winter Gardens, Garage Door Repair in Winter Gardens is available from Otto’s Garage Door, and a live person answers the phone 24/7, including nine at night when a spring lets go and your vehicle is sealed inside.
The Warranty Clause: When DIY Voids the Paperwork
Here is something most DIY guides never mention: your door manufacturer may have already decided for you. Many major brands, including Clopay, Amarr, and Raynor, include clauses in their warranty paperwork that require installation and certain repairs to be performed by a licensed professional. If you DIY a spring replacement and the door later fails, the manufacturer can deny the warranty claim because the service history is not documented by a licensed installer.
The specific language varies by brand and model, but the clause typically appears under a heading like “Warranty Exclusions” or “Limitations.” Look for phrases like “installed by a qualified professional” or “proof of professional installation required.” If your door is less than five years old, it is worth pulling out that paperwork before you attempt anything beyond maintenance.
The truth is that even where the warranty does not explicitly require professional work, it often requires documentation. A receipt from a hardware store for a spring kit does not satisfy a warranty claim the way a record from a licensed shop does. And in Winter Gardens, where many homes have doors that are 10 to 15 years old and out of warranty anyway, the bigger risk is not the paperwork - it is the door falling on your car or your family.
Break-Even Math: Tool Costs vs. Calling a Pro
Let us talk real numbers, because the decision is not always about safety. Sometimes it is about whether DIY actually saves you money - our Garage Door Cost Breakdown: The Winter Gardens Homeowner’s Reference for 2026 covers this in detail.
Roller Replacement
A set of six nylon rollers costs $20 to $40. Replacing them is a truly DIY-friendly job because the springs stay untouched. You undo the bottom bracket (with the door fully open and springs relaxed), pull the roller out of the track, and slide the new one in. No special tools, about 45 minutes. DIY wins clearly here.
Hinge Replacement
Replacement hinges cost $10 to $20 each. The work is simple: unscrew the old hinge, screw in the new one. The catch is that the door sections are aligned by those hinges, and if you do not have the door braced properly, the panel can shift. With a couple of C-clamps and a helper, this is a safe DIY job. The math favors DIY, and the tools you buy (C-clamps, screwdrivers) are useful for everything else.
Spring Replacement
A pair of torsion springs costs $80 to $150. Professional installation costs $180 to $340 in the Winter Gardens market, and Garage Door Permits, Codes & Inspections in CA: What You Need to Know explains why licensed work matters. The difference is not just labor - it is that the professional brings winding bars, experience, and a warranty. The tools alone (proper winding bars, not screwdrivers) cost $30 to $60, and you will use them once. The break-even math says DIY saves about $100 here, but the risk calculus says you are gambling fingers to save $100. That is a bad trade, and no honest contractor will tell you otherwise.
Opener Replacement
A new Chamberlain or LiftMaster opener costs $200 to $450 at retail. Professional installation adds $150 to $300. The DIY version requires running new wiring, mounting the unit, and adjusting the travel limits, which is genuinely doable if you are comfortable with basic electrical work. But here is the thing: most openers come with a manufacturer warranty that requires professional installation for claims. Read the paperwork before you decide. If the warranty is not a concern, DIY opener replacement is the most practical big-ticket DIY job on the list.
The pattern is clear: jobs that require no spring interaction have good DIY math. Jobs that touch the spring system do not, because the tool cost plus risk never justifies the savings.
How to Describe the Problem So a Tech Can Tell You the Truth
When you call a garage door company in Winter Gardens, there is a good chance you are not sure whether you need a truck roll or just a little guidance. The best shops will tell you honestly, and the way to get that honesty is to describe the problem precisely. Here is the exact script we recommend.
- Start with what the door does, not what you think is wrong. Say “the door stops halfway up and reverses” instead of “I think the spring is broken.”
- Note any sounds. Grinding, popping, snapping, screeching. Each sound means something different, and a good tech can diagnose from sound alone.
- Say when it started. “It started last Tuesday after a cold morning” tells a tech more than “it is broken.”
- Try the manual operation. Pull the red release cord and try to lift the door by hand. If it is heavy or drops, say so. That is spring information, and it is the single most useful thing you can report.
- Ask the direct question. Say “Can I fix this myself safely, or do you need to come out?” A shop that tells you to try the DIY-safe fix first is a shop you can trust. A shop that tells you everything needs a truck roll is a shop that sees you as a commission.
At Otto’s Garage Door, the person who answers your call is often Otto himself, and he will quote the job on the call and hold that number when he gets there. If the problem is a dirty sensor, he will tell you to wipe it off and call him back if that does not work. That is the difference between a local owner-operated shop and a call center reading from a script.
Winter Gardens Context: What Our Climate Does to Your Door
Winter Gardens is not actually that cold in the winter. What we get instead is heat, dust, and occasional coastal fog that rolls through and leaves moisture on bare metal. Each of those things does specific damage to a garage door.
The summer heat, which regularly pushes into the 90s and beyond, accelerates rubber degradation. Weatherstripping gets brittle and cracks. The bottom seal on a south-facing door can fail in two to three years here when it would last five in a milder climate. The good news is that weatherstripping is on the DIY-safe list, so this is an easy one to stay ahead of.
The dust from nearby open areas and the foothills gets into everything, especially roller bearings and hinges. When that dust mixes with old grease, it forms a paste that causes the grinding sound so many Winter Gardens homeowners call about. Regular lubrication, twice a year, is the single most cost-effective thing you can do to extend the life of your door out here.
And here is the one people do not think about: the temperature swing between a hot day and a cooler night causes the steel in your torsion springs to expand and contract. Over years, that repeated flex, not just the winding cycles, contributes to metal fatigue. Springs in Winter Gardens tend to fail more often in the fall, when the first real temperature drops start hitting after a long hot summer. If your spring is more than eight years old and we are heading into October, get it inspected before it fails at a bad moment.
Common Mistakes to Avoid
- Using WD-40 on your rollers and hinges. WD-40 is a degreaser, not a lubricant. It strips the existing grease and leaves the metal dry. Use white lithium grease or a silicone garage door lubricant instead.
- Thinking the opener motor is the problem when the door is heavy. If your door is hard to lift by hand, the issue is the springs, not the motor. A spring problem makes the opener work harder and fail sooner. Fix the spring, and the opener often goes back to running smooth.
- Ignoring a frayed cable for “just a little longer.” Cables do not fray gracefully. When they go, the door drops without warning. If you see fraying, stop using the door and call.
- Replacing one spring when both are the same age. Garage door springs come in pairs, and they wear together. If one snaps, the other is usually close behind. Replacing both at once costs less than two emergency calls.
- Painting over rust on a spring without addressing the wear. Surface rust on a spring is usually not the problem, but if the rust has caused pitting, the spring is compromised. Paint does not fix the structure.
- Attempting to adjust the travel limits on an opener without a manual. Small adjustments can fix a door that closes too hard or not enough, but the exact steps vary by model. Chamberlain, LiftMaster, and Craftsman all use different procedures. Read the manual first.
- Assuming the guy who answers the phone knows something about garage doors. If you call a national chain, you are talking to a dispatcher. If you call Otto’s Garage Door, you are talking to Otto or someone who has worked for him for years. That difference matters when you need an honest diagnosis over the phone.
When to Call a Professional
Call a professional when the door is off its track, when a cable is frayed or snapped, when the spring has a visible gap, when the door is suddenly heavy to lift by hand, or when you have tried the DIY-safe fixes and the problem persists. These are not judgment calls. They are the specific moments where continuing to use the door puts you and your family at risk. Otto’s Garage Door offers free estimates in Winter Gardens - call (619) 935-3793 and you will get a straight answer, an honest price quoted on the phone, and no pressure. The 90-Day Done Right Promise is written on every invoice, and one call brings Otto back.
Frequently Asked Questions
Spring replacement in Winter Gardens typically runs $180 to $340 including parts and labor, with the exact price depending on your door’s weight, spring size, and cycle rating. The springs themselves cost $80 to $150, which is why some homeowners consider DIY, but the risk of injury and the tool investment make professional replacement the smart choice. Call (619) 935-3793 for an exact quote - estimates are free and the price quoted on the phone is the price at the door.
Yes. Otto’s Garage Door answers calls 24/7 with a live person, and for emergency situations like a snapped spring or a door that will not open with your car inside, same-day service in Winter Gardens is available. Call (619) 935-3793 and describe what is happening - Otto will quote the job on the call and tell you honestly whether it needs immediate attention or can wait.
No. The price quoted on the phone is the price at the door, and it is written on the invoice before any work starts. No surprise fees, no “that part will be extra,” no games. Otto has been holding quoted prices since 2004 because his reputation in Winter Gardens is worth more than a one-time upcharge.
Yes. The trucks are stocked with the most common torsion and extension springs, cables, rollers, hinges, and opener parts for LiftMaster, Chamberlain, Genie, and Craftsman systems. For most repairs in Winter Gardens, the tech arrives, diagnoses, and completes the job in a single visit.
Otto’s Garage Door services all major brands including LiftMaster, Chamberlain, Raynor, Craftsman, Genie, Clopay, Amarr, and Wayne Dalton. If your opener or door is older or an off-brand, call anyway - Otto has been fixing doors in Winter Gardens since 2004 and there is not much he has not seen.
Yes, and they are standing offers, not seasonal gimmicks: $40 off any repair over $200, a free second opinion on any written estimate, no trip charge inside the county, and a permanent 10% discount for seniors and veterans. Always. The community comes before the margin.
For garage door opener questions specifically, see Garage Door Opener in Winter Gardens. For new door work in Winter Gardens, see Garage Door Installation in Winter Gardens.
The Bottom Line
The DIY-versus-professional question is not a debate. It is a boundary line with specific jobs on each side. Lubrication, sensors, weatherstripping, and remote programming are yours to do safely, and doing them regularly will save you real money and extend the life of your door for years. Springs, cables, and track work under load belong to a professional, because the physics does not care how confident you are. The smart Winter Gardens homeowner learns which side of the line each job sits on and acts accordingly. That is not giving up. That is knowing where the risk lives and respecting it.
Written by Otto Reinhardt, Owner at Otto’s Garage Door, serving Winter Gardens since 2004.