
Last updated September 10, 2026
Full 25-point door and opener safety check with every visit - springs, cables, rollers, tracks, and your LiftMaster or Chamberlain opener included
You get a price before we start. It does not change when the truck arrives.
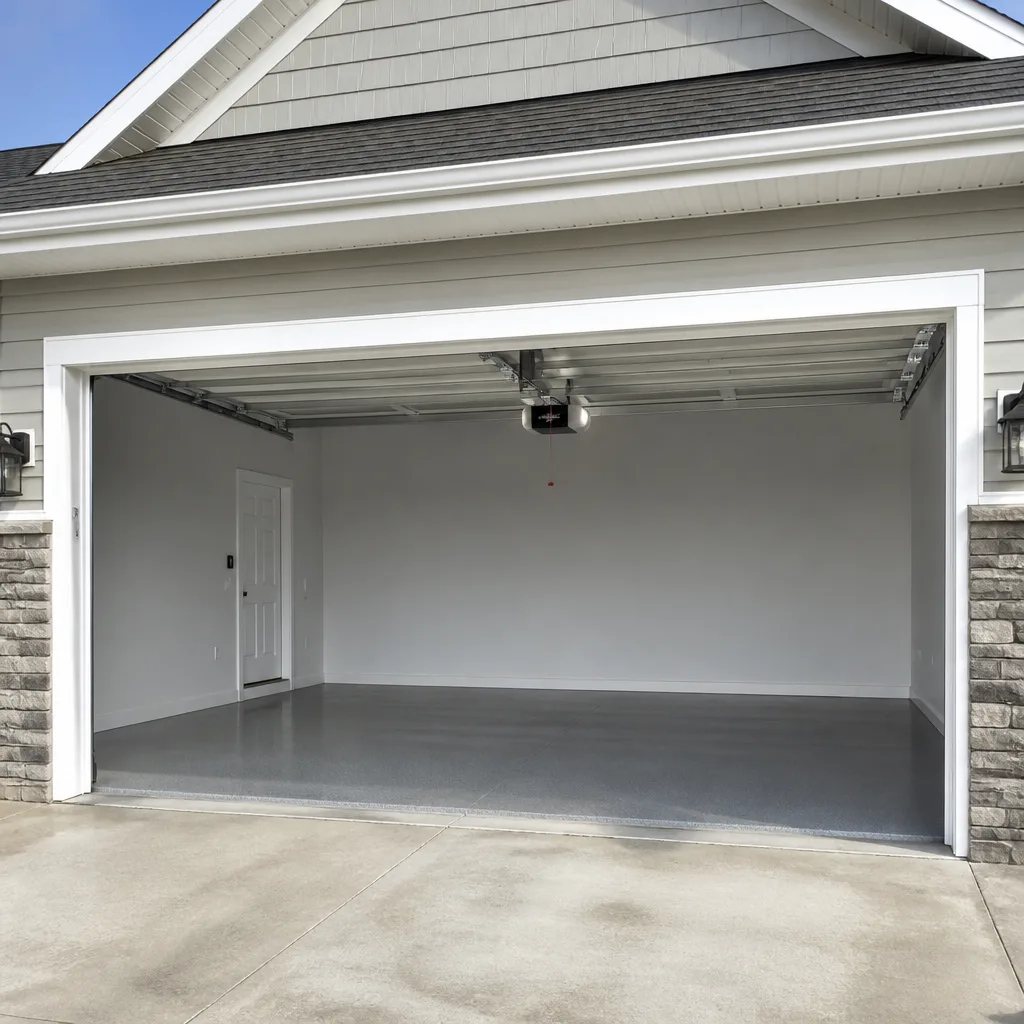
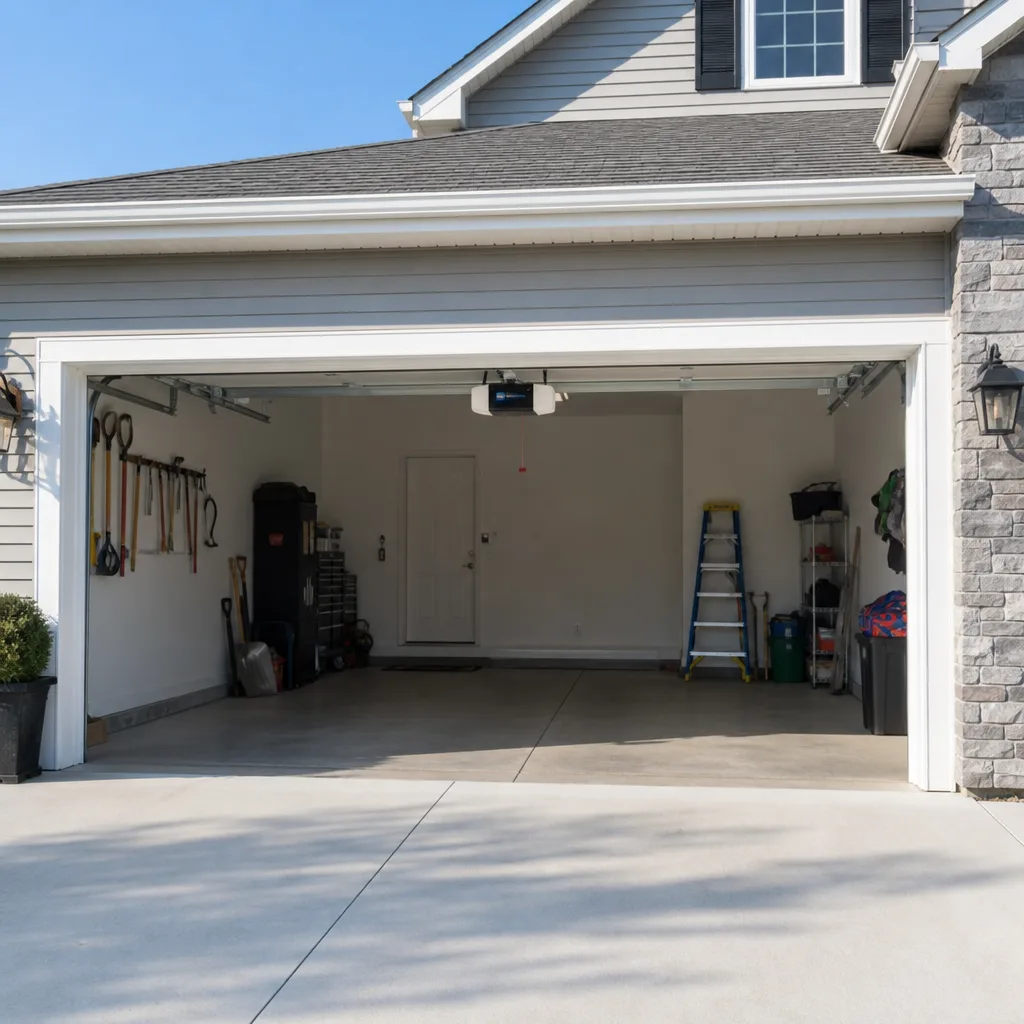
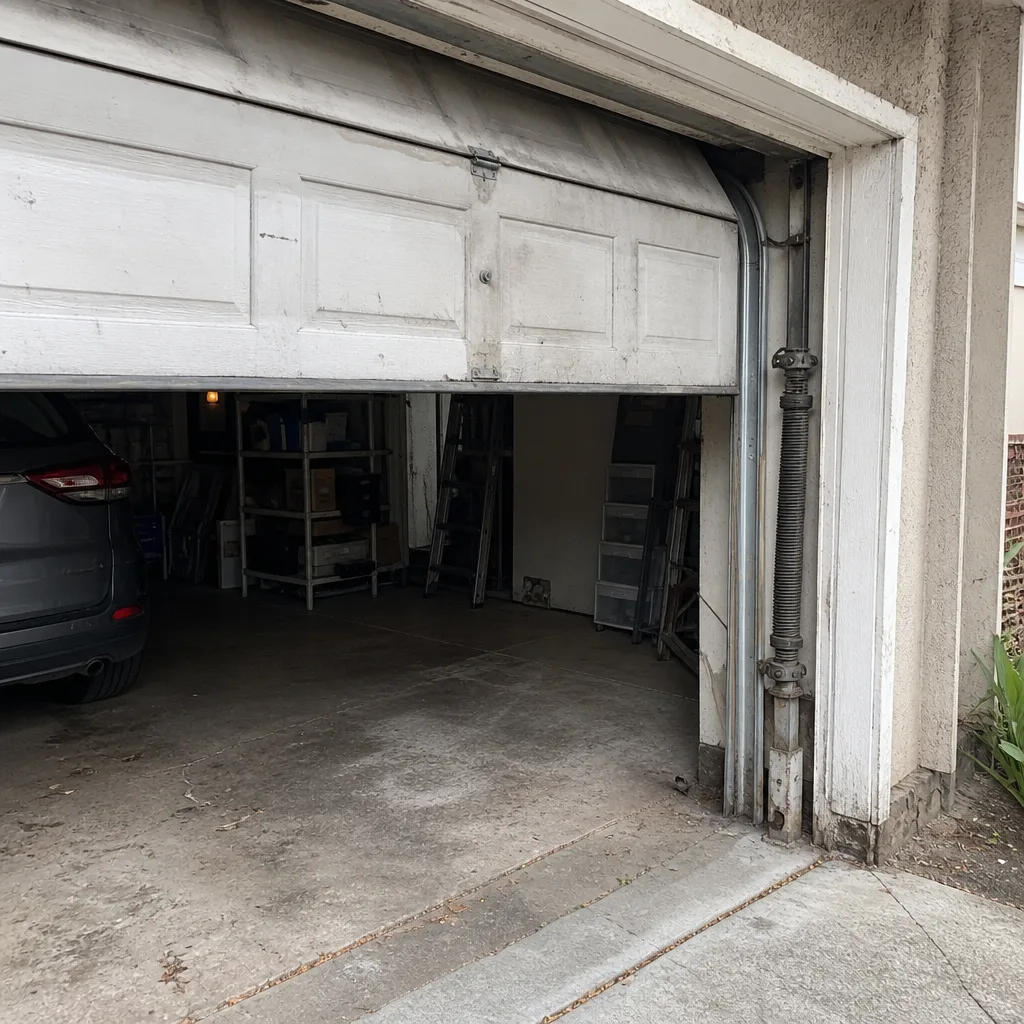 Before
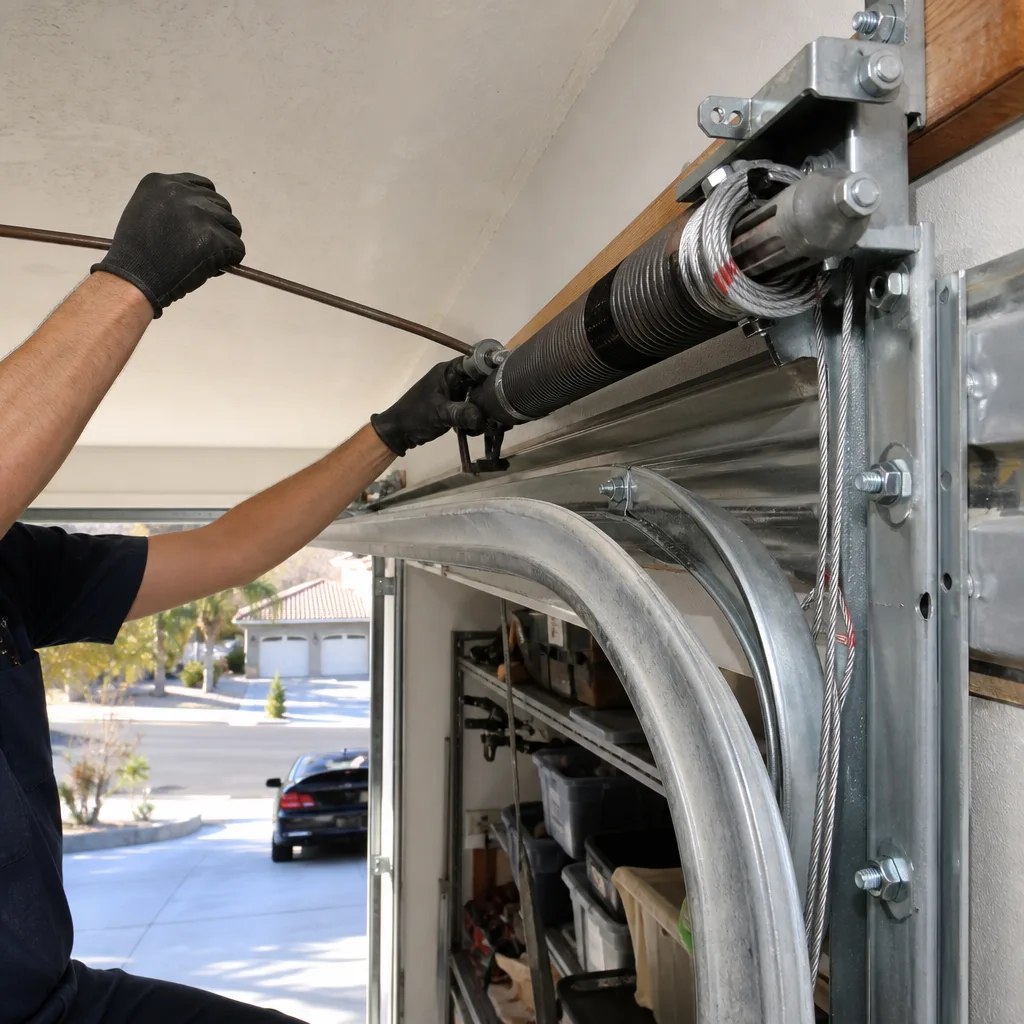 After
After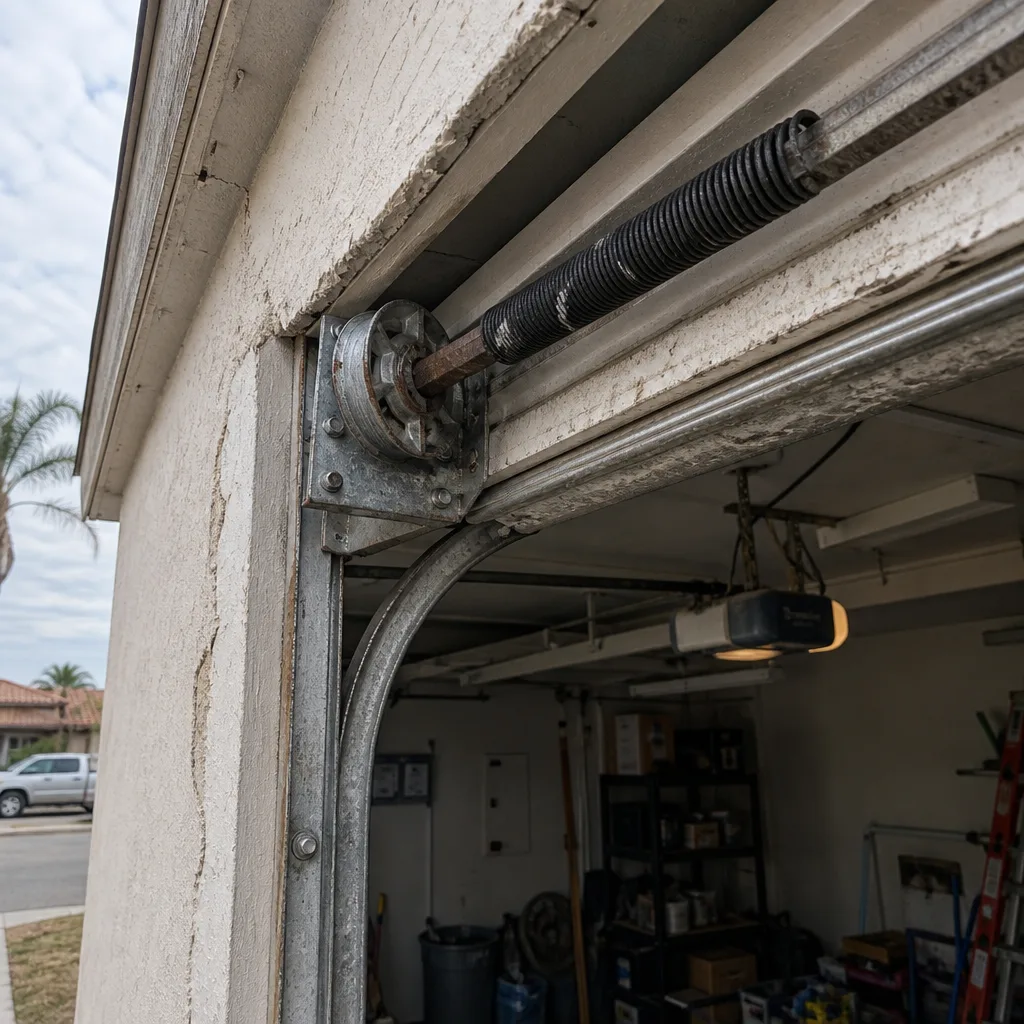 Before
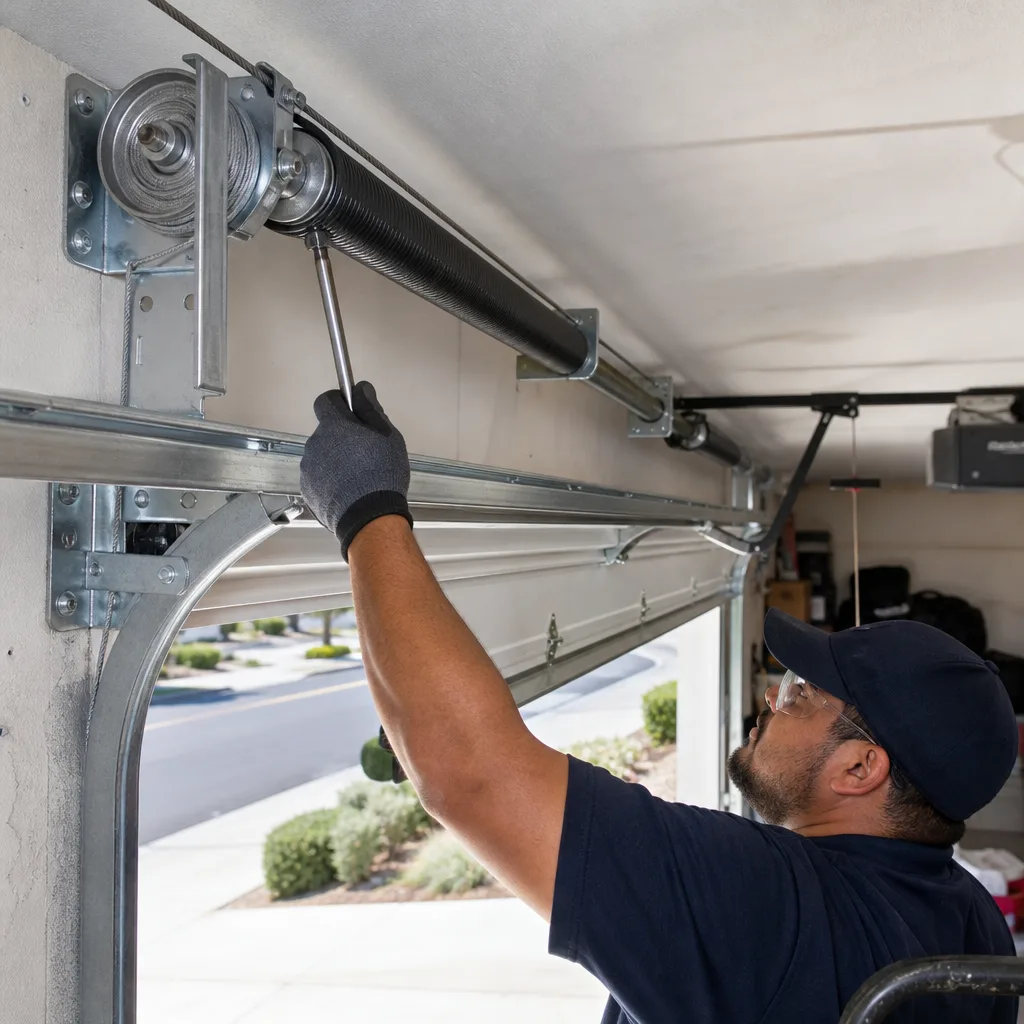 After
After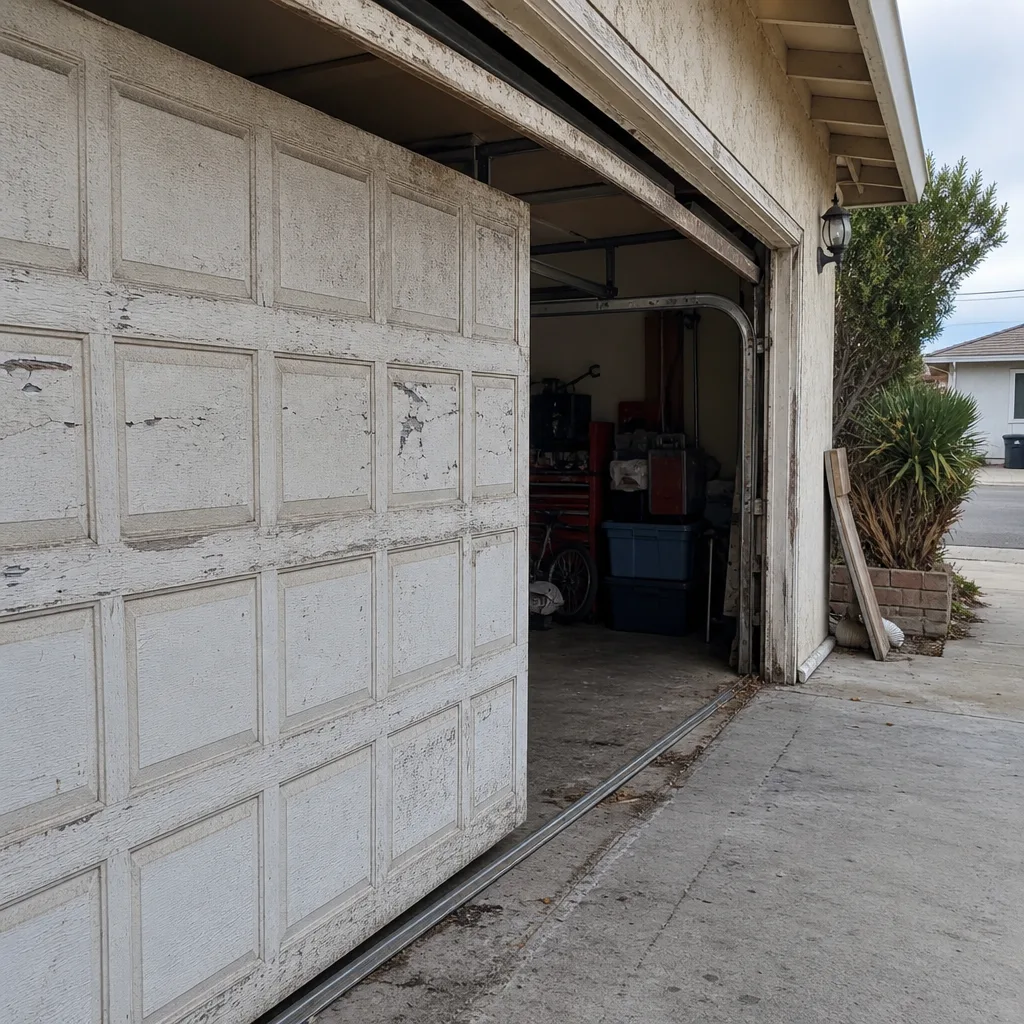 Before
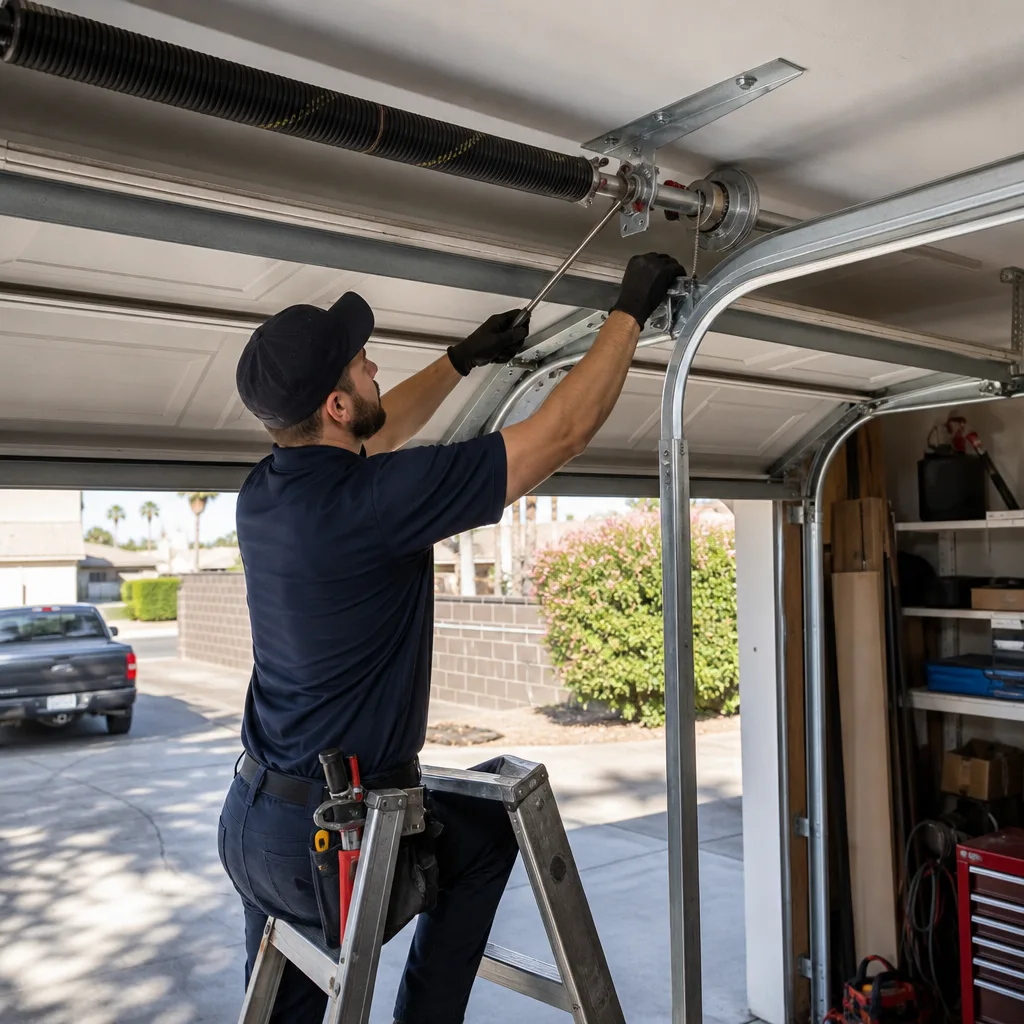 After
AfterGarage Door Repair Maintenance Checklist for Winter Gardens Homeowners
The spring that snaps and traps your car inside on a Monday morning was giving you a warning the previous three Saturdays. You just didn’t know what the warning looked like. Most garage door failures in Winter Gardens aren’t sudden at all. They’re the end of a slow decline that announces itself for weeks in sounds, in the way the door sits, in the way it feels when you open it by hand. This checklist gives you the six signals to check, the order to check them in, and the line between what a homeowner can safely do and what belongs to someone who’s been at this since 2004. By the time you finish, you’ll know more about your door than most people learn in twenty years of walking under it.
Quick Answer
A garage door maintenance checklist for Winter Gardens homeowners should cover six checks, done seasonally: the 10-second balance test, a close look and listen to the rollers, a targeted lubrication pass (never the track), a quick test of the auto-reverse safety feature, an inspection of the weather seal and any UV-damaged hardware, and a visual once-over of cables, hinges, and the opener rail. Most of that takes under ten minutes. The spring and cable checks you’ll read about in national guides are a look, not a touch. If the door fails the balance test or the auto-reverse test, stop using it and call a Garage Door Repair pro the same week.
Table of Contents
- The 10-Second Balance Test That Predicts a Spring Failure
- What Your Rollers Are Telling You at Three Stages of Wear
- What to Lubricate and What to Never Touch
- The 30-Second Auto-Reverse Test (and Why It’s Code, Not a Feature)
- The Seasonal Check That Actually Matters in Winter Gardens: Heat, UV, and Seal Shrinkage
- The Visual Once-Over: Cables, Hinges, and the Opener Rail
- A Monthly Routine You Can Actually Stick To
- Common Mistakes to Avoid
- When to Call a Professional
- Frequently Asked Questions
- The Bottom Line
The 10-Second Balance Test That Predicts a Spring Failure
A garage door is 200 pounds riding on two springs. Respect it. The springs are doing the lifting, not the opener. The opener is a motor with a rail and a belt or chain. If the springs are healthy and balanced, a person can lift the door with two fingers. If they can’t, the springs are fatiguing, and the opener has been quietly carrying the extra load, burning through its own lifespan to cover for them. The test is simple, and anyone can do it safely. You never touch the springs to do it.
- Close the door completely.
- Pull the red emergency release handle. This disconnects the door from the opener carriage. The handle hangs from a rope near the center rail. Pull it straight down, gently but firmly.
- Lift the door by its handle or bottom edge to about waist height, roughly four feet.
- Let go. Count to three. It should stay put, or drift no more than a couple of inches either direction.
- Lower the door the rest of the way by hand, then reconnect the carriage. Press the opener’s wall button once. Usually it clicks back in on the first try. If not, cycle the opener once and it will reconnect.
If the door drops from waist height, the springs are losing tension. They’re not dead yet, but they’re on the clock. A door that slams down when you let go is heavy. A door that flies up on its own is over-sprung. Both are red flags. Both mean the springs are not where they should be. In Winter Gardens, we see springs give out most often in late summer and early fall. The prolonged heat through July, August, and September takes a toll on the metal. When one spring goes, the door sits crooked, and the other spring dies within days trying to hold the whole load alone. Catch the imbalance in March and you replace springs on your schedule, not on the morning your car is stuck in the garage. For a full walkthrough of what that repair looks like, see our guide to Garage Door Repair in Winter Gardens.
What Your Rollers Are Telling You at Three Stages of Wear
Rollers are the voice of your door. They tell you the truth weeks before anything fails, but only if you know the language. There are three stages to a roller’s life, and each one has a specific sound and feel. You’ll want to listen with the door moving. A stethoscope isn’t necessary. Your ears are enough if you know what you’re hearing.
Stage one: the whisper. Steel rollers with intact bearings roll quiet. There’s a low, smooth sound, like a clean drawer sliding. Nylon rollers in good shape are even quieter. If your door sounds like that, your rollers are fine. No action needed beyond regular lubrication of the bearing, not the wheel itself.
Stage two: the rattle and the grind. When the bearing starts to wear, you’ll hear a metal-on-metal chatter, a dry rattle that follows the door up the curve of the track. The door may wobble slightly as it moves, trembling at the midpoint. That’s the bearing wearing out internally. The roller itself still looks round. At this stage, lubrication of the bearing can buy some time, but it doesn’t fix the wear. You’re weeks, maybe months, from stage three.
Stage three: the wobble and the flat spot. When the bearing is gone, the roller starts to ride on metal shavings. You’ll hear a grinding, uneven sound. In bad cases, the wheel itself develops a flat spot from skidding instead of rolling. The door starts to shake hard enough to loosen hinges over time. A roller with a flat spot is a roller that’s been screaming for a month. If you see the wheel not turning while the door moves, that’s the end of the line. Replace the roller. A buckled track from a shattered roller is a much more expensive repair than the roller itself ever was.
The feel test is simple. With the door disengaged from the opener, open and close it by hand, slowly. Pay attention to any hitch, any spot where the door hangs or stutters. That’s a roller binding, a hinge seizing, or a track issue. The door should glide from ground to ceiling in one motion, like a knife through butter. When it doesn’t, something is telling you where to look.
What to Lubricate and What to Never Touch
This is where most national checklists fail Winter Gardens homeowners. They tell you to spray the track. Do not spray the track. The track is not a squeak source. It’s a guide rail. Greasing it attracts dust, and in our dry summers, that dust is fine, gritty, abrasive. It coats the rollers, builds up in the track’s curves, and turns a smooth gliding surface into a grinding paste. We see it constantly in this area. A homeowner with good intentions and a can of white lithium grease turns a quiet door into a grinding one inside of six months.
What you lubricate is the moving parts that pivot and roll. The list is short, and here it is, in order:
- Roller bearings: a drop or two of silicone or a garage-door-specific lube on the bearing, not the wheel surface. Nylon rollers get the same treatment. If the roller has no exposed bearing, a light mist on the stem where it meets the hinge.
- Hinges: every hinge on the door, including the bottom ones that carry the most weight. A drop on each pivot pin.
- Springs: garage door lube or silicone spray, never grease. Spray along the spring’s length. On torsion springs, get the top and sides. The coils shift as the spring winds and unwinds. Keeping them lubed reduces friction between coils and slows corrosion.
- The opener rail: if it’s a chain drive, a light coat on the chain itself. Not the rail. If it’s a belt, don’t lubricate the belt. Nothing you spray helps a belt, and the wrong lube degrades the rubber. A screw drive gets a light lube on the screw threads.
- Lock and handle mechanism: if the door has one, a small shot of graphite or silicone in the keyhole keeps it from seizing during the wetter winters.
What never gets lubricated: the track, the photo-eye sensors, any part of the door that slides against a flat surface, and the auto-reverse sensor wiring. Use a silicone spray or a dedicated garage door lubricant. WD-40 is a solvent, not a lubricant. It will quiet a squeak for a week by stripping the old lube, then the squeak comes back angrier. In Winter Gardens, where the dry air sucks moisture out of everything, twice a year is right. Once in the spring, once in the fall. More often if the door lives on a sunny wall and gets hot to the touch in August.
The 30-Second Auto-Reverse Test (and Why It’s Code, Not a Feature)
Since 1993, every garage door opener sold in the United States has been required to include auto-reverse. That’s federal law under the UL 325 standard. It’s not a convenience feature. It’s a safety requirement because between 1974 and 1990, garage doors killed dozens of children. The auto-reverse exists so that never happens again, and it only protects you if it works. Testing it takes thirty seconds, and you should do it monthly.
The test is simple:
- Place a roll of paper towels or a 2×4 flat on the ground directly under the door’s centerline.
- Close the door using the wall button or remote.
- Watch what happens when the door contacts the object.
The door should reverse within two seconds of touching the object and return to the open position every time. If it does not reverse immediately, the door is a hazard. Stop using it. Disconnect the opener with the emergency release and operate the door manually until it’s serviced.
There are two main reasons a door fails this test. One is the opener’s force setting. Openers have a sensitivity adjustment that tells the motor how much resistance is too much. If it’s set too high, the door will crush the obstacle instead of reversing. The door’s balance affects this too. An unbalanced, heavy door requires more force to close. The opener might be set correctly but still fail the test because the springs have fatigued and the door now weighs more than the opener’s reverse threshold. Either way, it’s a repair call, not a YouTube afternoon. Tampering with force settings without knowing the spring condition is how doors get launched off the track or pulled through drywall. Otto’s crew handles these calls in Winter Gardens on a regular basis, and we quote the price before work starts, not after. See our Garage Door Opener in Winter Gardens page for how we address opener and safety feature issues.
The Seasonal Check That Actually Matters in Winter Gardens: Heat, UV, and Seal Shrinkage
Most garage door maintenance checklists are written for the Midwest or the Northeast. They talk about freeze-thaw cycles, salt corrosion, ice dams, and cold-weather lubrication. Winter Gardens doesn’t have a freeze-thaw problem. We have a heat and UV problem. If you’re applying a national checklist to a door in this climate, you’re checking for problems the door will never have and skipping the problems that are killing it slowly every August.
The summer sun in this part of California is hard on garage doors. The temperature on a south-facing or west-facing door surface can hit 140 degrees in July. UV radiation breaks down vinyl weather seals, making them brittle, cracked, and shrunken. What that means in practice is that the bottom seal no longer meets the ground. The gap lets in dust, leaves, rodents, and all of August’s heat. It also lets conditioned air escape if your garage shares a wall with the house. A hardened seal is doing nothing.
Inspect the bottom seal in April and again in September. Look for cracks at the ends, gaps where it meets the concrete, and any sections that have pulled away from the retainer track. New seals don’t attach with glue. They slide into a retainer channel along the bottom of the door. If the channel is intact, replacing the seal is a straightforward job. If the channel itself is bent or rotted, the job gets bigger. Check the side and top seals too, especially on the sunny side of the door. They keep the heat, the dust, and the critters out.
The other heat-related issue we see constantly in Winter Gardens is warping on non-insulated steel doors. Direct afternoon sun expands the metal. Without an insulated core to absorb the temperature differential, the panel can bow. That’s especially true on dark-colored doors. If the door has developed a bow, you’ll notice it when the door is closed and the panel has a visible convex curve. It won’t fix itself, and it will shorten the life of the hinges and rollers attached to it. If you’re thinking about a replacement, our Garage Door Installation in Winter Gardens page covers what to look for in a door that can handle our summers.
Wayne Dalton and Amarr both make insulated models that handle Southern California heat well. Craftsman and Raynor offer solid options too. The point isn’t the brand. It’s the insulation. An insulated door holds its shape in August, and it doesn’t turn the garage into an oven. That matters when the garage houses a water heater and a wall full of paint cans.
The Visual Once-Over: Cables, Hinges, and the Opener Rail
Once the hands-on checks are done, walk a slow circle around the door and use your eyes. This is the part of the checklist that catches the problem before it becomes a repair. None of it requires touching anything.
Cables: Look at the cables on both sides of the door. They run from the bottom bracket, up the sides, and around the drum at the top. Look for fraying, which shows up as individual wire strands poking out of the cable. Look for rust, especially near the bottom bracket where moisture collects. Look for slack. A cable that’s loose at the bottom means the spring has lost tension, and the cable is no longer carrying its share. A frayed cable is a snap waiting to happen. When a cable lets go, the door can come down violently on one side, and the panels can bend beyond repair. This is a look, not a touch. Cables stay under spring tension even when the door is closed. Never remove a cable yourself.
Hinges: Door hinges connect the panels and allow the door to bend as it goes up the track. Look at each one. A loose hinge will show a gap between the hinge leaf and the panel, or you’ll see the screws backing out. Tightening the screws is a homeowner-level fix, but if the holes are stripped, the screw won’t hold, and the hinge will continue to wobble. That’s a job for someone who can replace the hinge or repair the panel. A hinge that breaks off while the door is moving can jam the whole door in the track.
The opener rail: Stand under the opener and look down the rail. The rail should be straight. A curve or sag in the middle means the opener is fighting itself every time it runs. The carriage should move smoothly with no hesitation. Listen for sounds that started recently. Openers don’t develop new sounds for no reason. A new clunk is a warning. A new vibration is a warning. Pay attention to warnings.
We’ve seen doors in Winter Gardens that ran for years with a cracked end hinge and a frayed cable (How to Hire a Garage Door Contractor in Winter Gardens: A Step-by-Step Guide). The homeowner didn’t know because the door still worked. It worked right up until the morning it didn’t, and then it was an emergency call to a number they had to find on Google while the car sat stuck in the garage. The whole point of a visual once-over is that it takes four minutes and it finds the problems when they’re still cheap.
A Monthly Routine You Can Actually Stick To
A yearly checklist is good. A monthly habit is better. Most of the checks take under two minutes once you know what you’re doing, and they catch issues while they’re still invisible to the yearly glance. Here’s what a practical monthly routine looks like for a Winter Gardens homeowner with a standard single or double door.
- Run the door once and listen. Close it. Open it. Any new sound, any change in pitch, any hesitation. That’s it. Sixty seconds.
- Watch it from outside. Stand back and watch the door as it moves. Does it wobble? Does one side lead the other? Does it stutter at a specific point? Another sixty seconds.
- Check the auto-reverse. The paper towel roll test. Thirty seconds. Do it.
- Look at the cables. Quick visual. Both sides. No touching. Ten seconds.
- Feel the bottom seal. Run your hand along the bottom of the door. Does it feel flexible like a new tire, or hard and cracked like an old one? Fifteen seconds.
- Check the photo-eye alignment. Most openers have small indicator lights on each sensor. If one is blinking or both are off, the sensors are out of alignment or blocked. Clear the path and check the alignment. If the door reverses when nothing is there, that’s a sensor issue. Clean the lenses with a dry cloth.
Six checks, each one counting as one item on a list, each one under a minute. The entire routine takes less time than brewing a pot of coffee. Do it on the first Saturday of the month. It’s not a chore. It’s an inspection, and it’s the difference between a door that costs $30 a year to keep and a door that costs $800 in an unplanned emergency. For homeowners with a door over ten years old, double the frequency. The closer the door is to the end of its expected life, the faster problems develop.
Common Mistakes to Avoid
- Lubricating the track. This is the most common mistake we see in Winter Gardens, and it always creates more problems than it solves. The track guides the rollers. Lubricating it attracts dust and grit, which grinds into the rollers and the curve of the track. The door gets louder, not quieter.
- Ignoring a balance problem. When the door starts to feel heavy, most people turn up the opener’s force setting to compensate. That doesn’t fix the springs. It hides the problem while transferring the strain to the opener, which then fails a year or two later. The door was heavy for a reason.
- Spraying WD-40 on the springs. WD-40 is a water displacer and a solvent. It cleans, it doesn’t lubricate. The springs will bind and squeak worse within a week. Use a silicone-based garage door lube instead.
- Replacing one spring at a time. When a torsion spring snaps, the other one is at the end of its life too. They’ve cycled the same number of times. If you replace one, the other follows within months, and you pay for labor twice. Replace both. Always both.
- Leaving the emergency release rope hanging in the open position. The red release handle should always be reachable but not dangling into the path of the door. A rope that hangs too low can get caught in the door or the opener rail, and that’s how doors get launched off the track. Keep it tied up clear of the mechanism.
- Thinking a warranty covers everything. Warranty terms are specific. Many cover parts but not labor, or cover sections of the door but not the springs that wear out from use. Read the warranty before you need it, not after the door fails.
- Running the door with visibly frayed cables. I understand the impulse. The door still opens, so it’s hard to justify a repair call for something that hasn’t broken yet. But a frayed cable is not a maybe. It’s a when. When it goes, the door drops on one side, panels bend, and the price doubles. The cable is a $100 problem today and a $700 problem next month.
When to Call a Professional
Some jobs belong to the homeowner. Checking, listening, lubricating, and testing are homeowner jobs. Anything involving the springs, the cables, the track brackets, or the opener’s internal mechanism belongs to a professional. The springs hold enough tension to launch a tool through a wall. The cables are under the same load. People get seriously hurt every year trying to fix these parts themselves. The rule is simple: if it’s under tension, don’t touch it. If the door fails the balance test, if the auto-reverse test fails, if a cable is frayed, if the track looks bent or the brackets are pulling away from the wall, that’s a call. Otto’s Garage Door offers free estimates in Winter Gardens. Call (619) 935-3793 and you’ll talk to a person who will quote the job on that call and hold that number when the truck arrives. The name on the van is the name on the invoice and the name on the license.
Frequently Asked Questions
Most homeowners can handle basic maintenance like lubrication and visual checks for under $30 in supplies, which covers a can of silicone lube and replacement weather seal. That silicone can lasts two or three years. A professional tune-up, which includes spring inspection, cable inspection, roller lubrication, opener force adjustment, and a full safety check, typically runs between $85 and $180 in Winter Gardens depending on the door’s size and condition. If parts like rollers or springs need replacing, the price goes up based on what’s worn. Call (619) 935-3793 for an exact quote. Estimates are free.
Run the full checklist twice a year, once in the spring and once in the fall, and do the two-minute monthly routine every first Saturday. The twice-yearly checks catch wear and seasonal damage. The monthly checks catch new sounds and changes early, while they’re still cheap to fix. Doors over ten years old should get an extra once-over in mid-summer, because heat and UV cause more wear in Winter Gardens than cold ever will.
A loud door is telling you something specific. A grinding or chattering sound points to worn roller bearings. A squeak at the end hinges points to dry hinge pins. A rattling sound that follows the door up the track points to a loose panel or a roller that’s about to fail. A groaning sound from the opener when the door starts to move points to springs losing tension and the opener working harder than it should. Lubricate the bearings and hinges first. If the noise doesn’t change within a day, call for an inspection. A noisy door is a door that’s wearing itself out.
No. Torsion springs are under thousands of pounds of tension. Extension springs carry the full weight of the door. People die every year trying to replace springs themselves with tools that aren’t rated for the load. If the spring is broken, leave it alone. Disconnect the opener and leave the door closed until a pro arrives. Otto has been replacing springs since 2004, and he’ll tell you straight what the job needs. Call (619) 935-3793 and he’ll quote the repair on the phone.
A crooked door usually means one spring has failed or lost significant tension while the other one is still holding. The side with the working spring lifts normally. The side with the dead spring drags. A broken cable can cause the same thing. It’s also possible that a roller has broken and the door is riding on the track flange. In any case, stop using the door immediately. Forcing a crooked door bends panels and breaks hinges. That’s a repair call, not a maintenance fix.
Not much, and that’s the point. Winter in Winter Gardens is mild and dry. The door isn’t fighting ice, salt, or freezing temperatures the way a door in Michigan is. But the previous summer’s heat was working on the door the whole time, degrading the seal and stressing the springs. The best time to catch that damage is in the fall and early winter, when the door is cool and the wear is visible. Check the seal, the cables, and the balance when the weather turns. The cold snap won’t hurt the door. The accumulated heat damage will.
The Bottom Line
A garage door tells you it’s failing weeks before it actually fails, but only if you’re paying attention to the right signals. Run the balance test, listen to the rollers, lubricate the bearings and hinges but never the track, test the auto-reverse monthly, and watch the weather seal for heat and UV damage. Those six checks, done on a realistic schedule, will catch problems while they’re still cheap to fix and prevent the Monday morning emergency where the door won’t open and the car is stuck inside. For homeowners in Winter Gardens who want a professional set of eyes on the door, Otto’s Garage Door has been serving this area since 2004, and we quote the price before we start, not after. Call (619) 935-3793 for a free estimate. We’re local, we answer the phone, and we’ll be here next year when you call again.
Written by Otto Reinhardt, Owner at Otto’s Garage Door, serving Winter Gardens since 2004. For more guides & resources, visit our blog.