
Last updated September 10, 2026
Full 25-point door and opener safety check with every visit - springs, cables, rollers, tracks, and your LiftMaster or Chamberlain opener included
You get a price before we start. It does not change when the truck arrives.
 Before
 After
After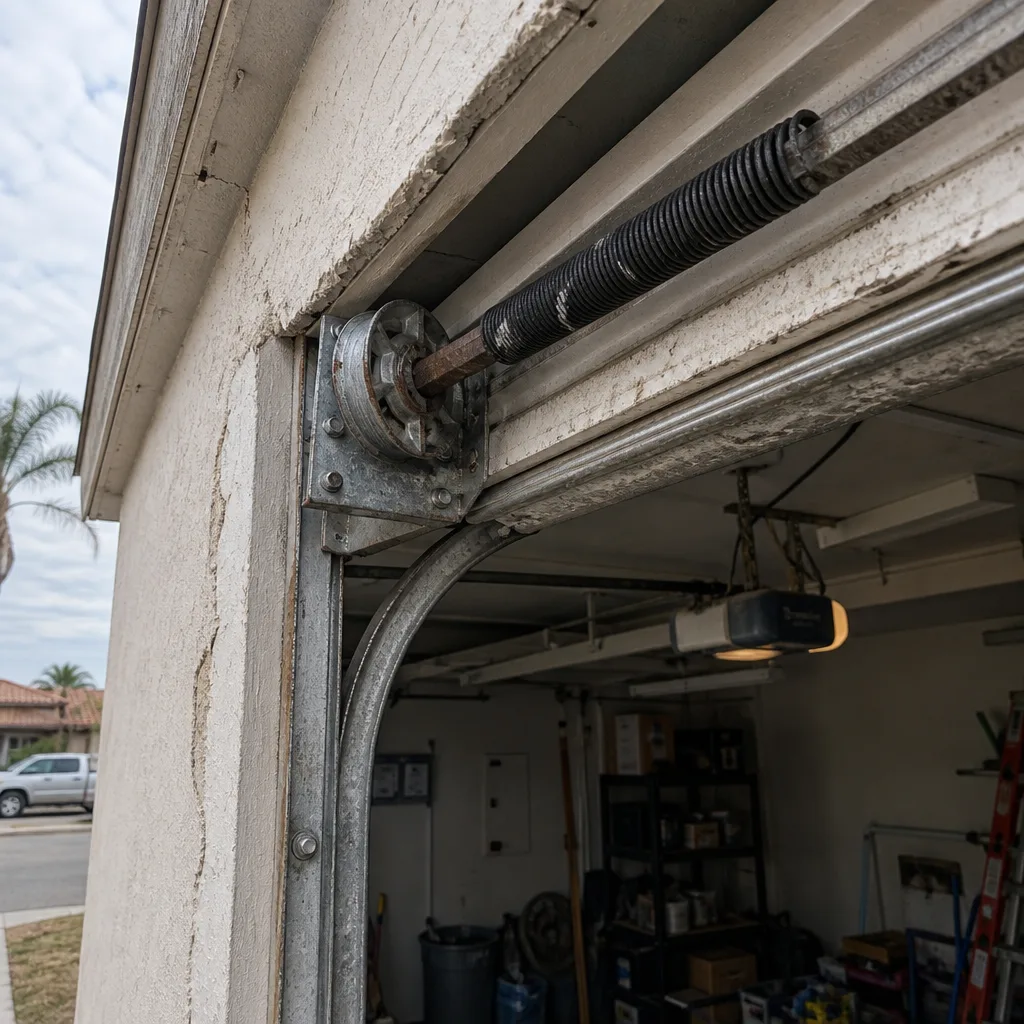 Before
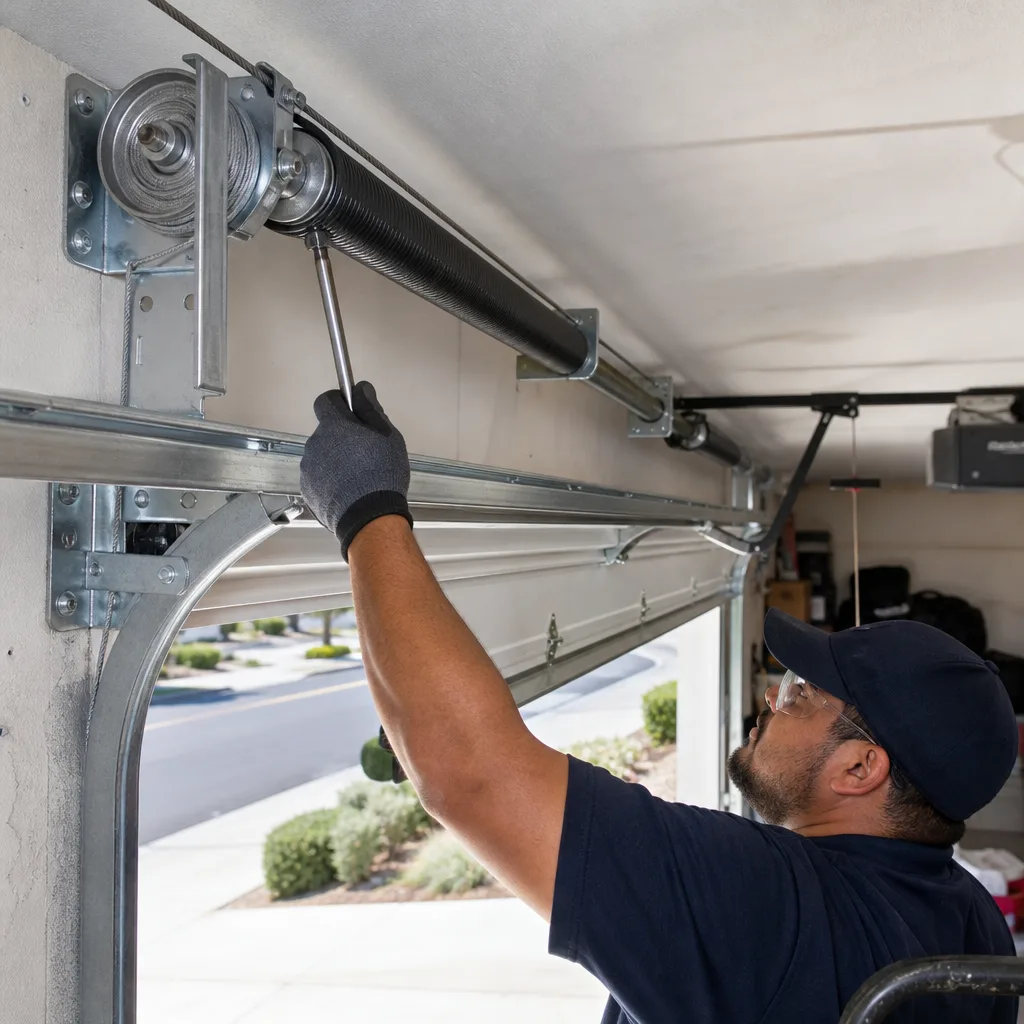 After
After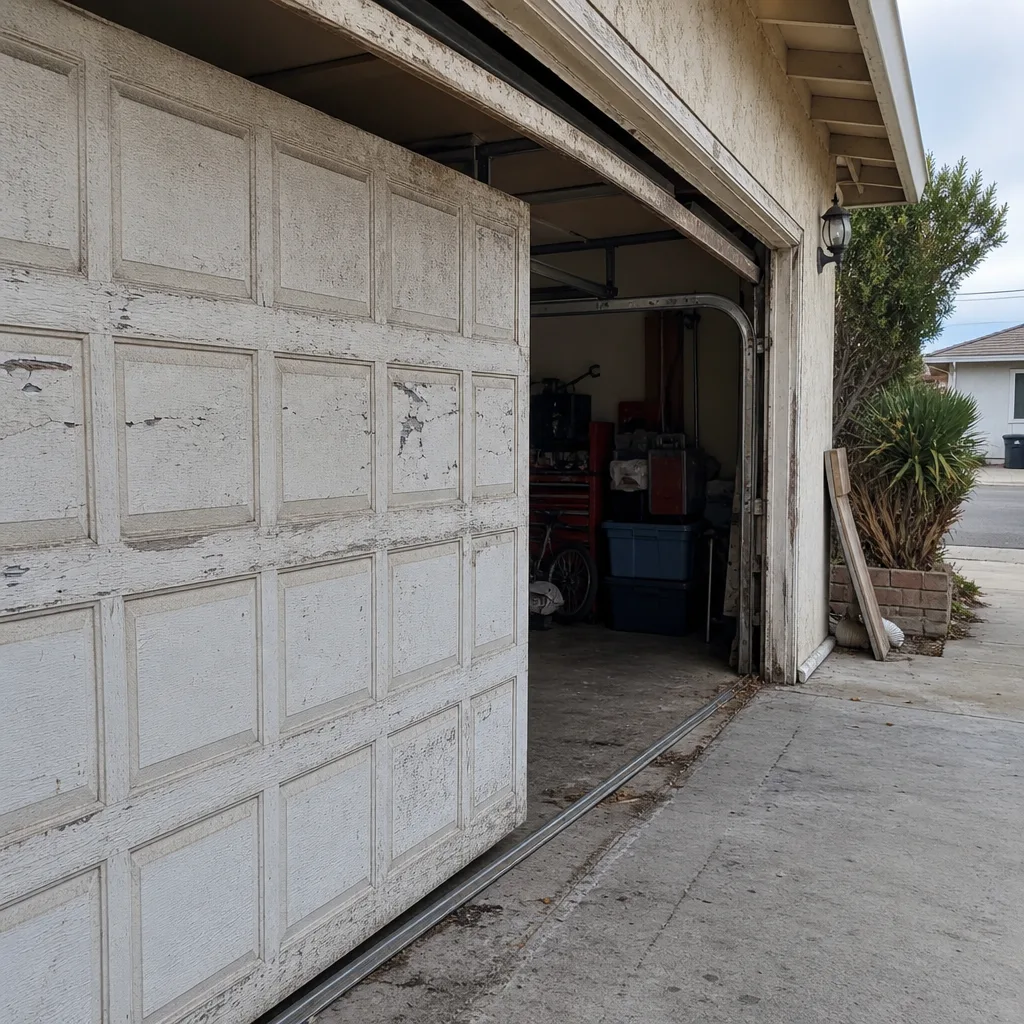 Before
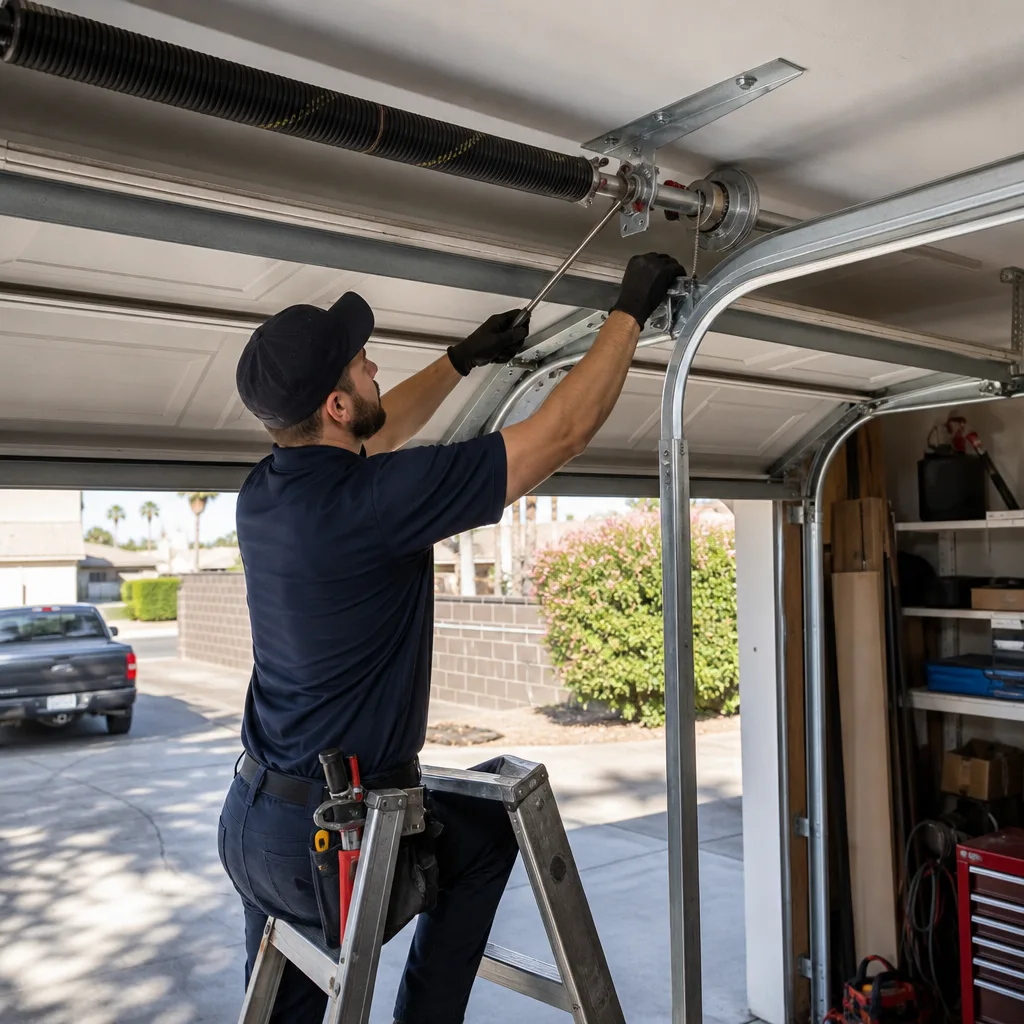 After
AfterSeasonal Garage Door Care for Winter Gardens: Year-Round Homeowner’s Guide
A Winter Gardens garage door doesn’t fail in a single dramatic moment. It fails in increments, through one summer of 100-degree afternoons softening the weatherstripping until it holds the shape of the concrete instead of the door, through one winter of cool damp mornings tightening the torsion springs a fraction of a turn at a time, through eighteen months of forgetting to look at the cables until the day one of them looks like a frayed shoelace. What follows is the calendar we actually use when we work on doors in this community, not a generic four-season checklist written for a climate that doesn’t match ours. It’s built around what the heat does to rubber and steel, what the cool season does to moving parts, and what a homeowner can realistically do in twenty minutes on a Saturday without pulling a muscle or losing a finger.
Quick Answer
Seasonal garage door care in Winter Gardens means adjusting your maintenance schedule around summer heat, not winter cold. The critical checks are the bottom seal and weatherstripping in April before temperatures climb, lubrication with a silicone-based product in October after the heat breaks, and a visual inspection of springs and cables every three months regardless of season. Most door failures we see in Winter Gardens trace back to heat-damaged rubber components that looked fine until they didn’t.
Table of Contents
- The Real Climate Cycle in Winter Gardens
- Month-by-Month Garage Door Maintenance Calendar
- Why Summer Is the Worst Time to Lubricate
- Weatherstripping That Survives Inland Heat
- Why Your Opener’s Brain Cooks in Summer
- The Thermal Door Gap: Seal Problem or Panel Warp?
- Common Mistakes to Avoid
- When to Call a Professional
- Frequently Asked Questions
- The Bottom Line
The Real Climate Cycle in Winter Gardens
Winter Gardens doesn’t have four seasons. It has a long brutal summer that does the damage, and a mild eight-month stretch that hides it. From May through October, daytime highs push past 90 degrees on a regular basis, and the interior of a closed garage can run 20 to 30 degrees hotter than the outside air. That means a door’s components, especially anything made of rubber, vinyl, or plastic, are sitting at 110 to 120 degrees for hours every afternoon.
What does sustained heat actually do? Rubber weatherstripping loses its plasticizers, the chemical compounds that keep it flexible. Without them, the material hardens, then cracks. A bottom seal that started the season soft and compressible can be rigid and brittle by Labor Day. The same principle applies to the vinyl trim around the door frame and the rubber gaskets on the opener’s safety sensors.
But here’s why most Winter Gardens homeowners miss it: the seal doesn’t fail in August when it’s obviously hot. It fails the following winter or spring, when a cold snap makes already-brittle rubber crack completely. Or it fails on the first hot day of the next summer, when the door expands slightly and the now-short, hardened seal no longer reaches the floor. We’ve walked into garages in this community where the bottom seal looked like a stale pretzel rod, and the homeowner insisted the door had been fine all winter. It was. That’s the problem. The damage was done months earlier, silently.
Steel panels expand and contract with temperature swings. Torsion springs lose a small amount of tension through normal cycling, and that process speeds up when the spring metal goes through repeated hot-cold cycles. Track brackets loosen as the wood they’re mounted to dries out in the summer heat, then swells again with the first winter rain. None of this is dramatic. All of it is cumulative.
The takeaway is simple: in Winter Gardens, your maintenance calendar should be built around the heat season, not the cold season. What you do in April prevents most of what goes wrong in October. What you do in October prevents what goes wrong the following July. A door is 200 pounds riding on two springs. Respect it year-round, but especially when the thermometer climbs.
Month-by-Month Garage Door Maintenance Calendar
Here’s the calendar we recommend to homeowners in Winter Gardens and the surrounding communities. It’s built around the Inland Empire climate cycle, not a generic national checklist that tells you to check your door for snow in January.
January – February: The Quiet Months
These are the mildest months in Winter Gardens, and they’re the easiest time to do a thorough visual inspection without sweating through your shirt. Check the following:
- Look at the cables. Both lift cables should be taut, not slack. Run your eyes along their length and look for any strand that’s poking out, any kink, any rust. If a cable looks like a frayed shoelace anywhere, do not use the door. Call someone.
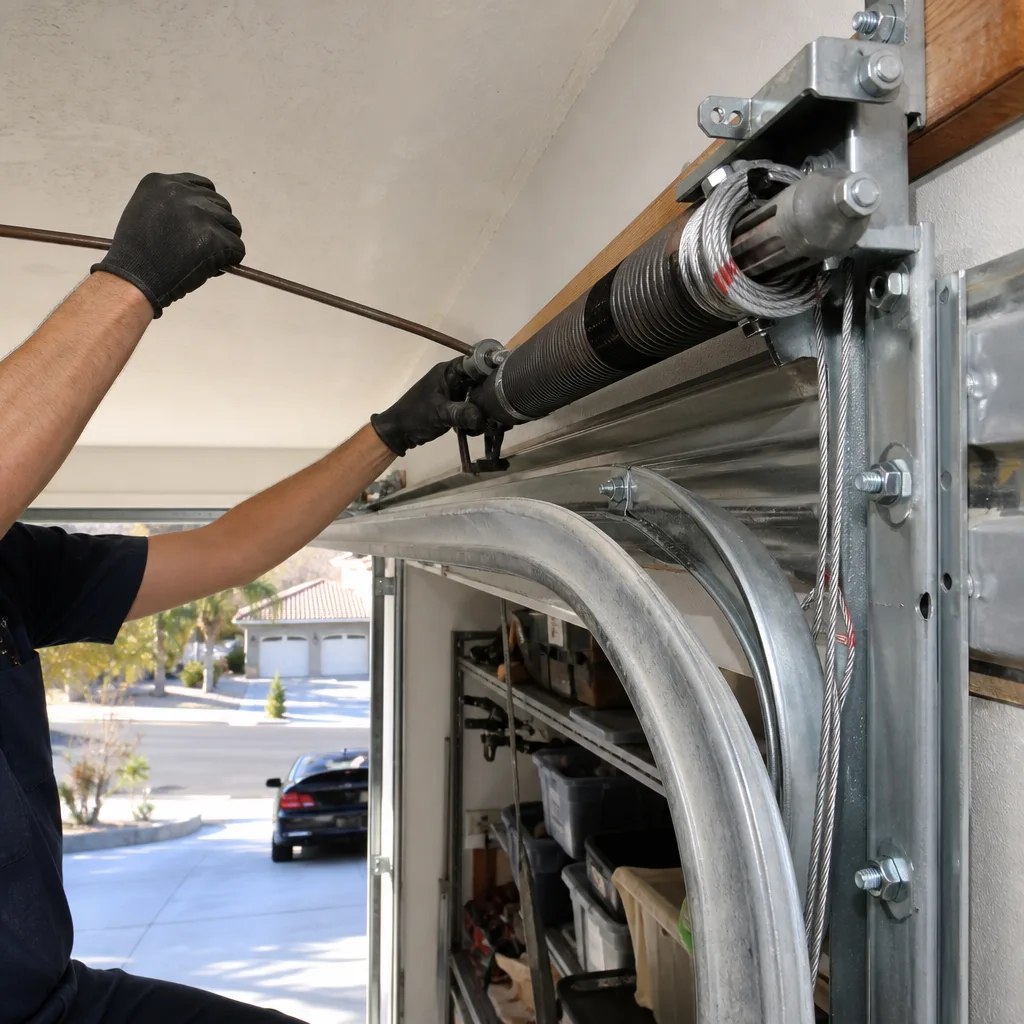
- Check the spring hardware. Look at the torsion springs above the door. They should have a light coat of surface rust at most. Deep rust or gouges mean the spring is aging. Listen while the door runs. A spring that creaks loudly is talking to you.
- Test the balance. Pull the release handle and lift the door halfway by hand. It should stay put. If it drops, the springs are losing tension. If it’s hard to lift, something’s binding.
March – Early April: The Critical Window
This is the most important maintenance period of the year in Winter Gardens. Whatever you do here determines how the door survives the next five months.
- Inspect the bottom seal. Get down and look at the rubber strip along the bottom of the door. Press on it. It should feel soft and springy, not hard and cracked. Hold a flashlight inside the garage on a sunny day and look for light leaking under the door. Any gap means the seal is compromised.
- Inspect the side weatherstripping. Run your hand along the vinyl strips that line the door frame. Look for cracks, brittleness, or gaps where the strip has pulled away from the frame.
- Lubricate if needed. Use a silicone-based lubricant on the hinges, rollers, and track. Never use WD-40 or any petroleum-based product, which we’ll explain below.
- Check the opener’s safety reversal. Place a 2×4 on the ground under the door and close it. The door should reverse within two seconds of contacting the board. If it doesn’t, the opener needs adjustment or repair.
May – June: The Heat Arrives
Once daytime temperatures consistently pass 90 degrees, the garage interior becomes an oven. Your job now is monitoring, not maintenance.
- Listen to the door. A door that runs smooth and quiet is a healthy door. New grinding, scraping, or metallic popping sounds mean something has changed. Heat accelerates wear, so pay attention.
- Watch for gap changes. Steel expands as it heats. A door that fits tight in May might show a gap at one corner by August. This is thermal expansion, and it’s often normal. But if the gap is accompanied by a sticking or rubbing sensation, the track alignment may be off.
- Check the opener’s temperature. Put your hand on the opener’s motor housing after a cycle. It will be warm, which is normal. If it’s too hot to hold your hand on comfortably for five seconds, the motor is working too hard. That’s a sign the door is out of balance or the opener’s gears are failing.
July – September: The Punishment Months
These are the months when Winter Gardens garage doors earn their keep or give up. The rubber is aging, the springs are cycling in extreme heat, and the opener’s electronics are cooking.
- Check the seal at dusk. After a full day of heat, the bottom seal should still be making full contact with the floor. Look for light leaks under the door at sunset. A seal that’s shrunk or hardened won’t recover, and the gap will only grow.
- Test the safety sensors. Wave your hand through the beam while the door closes. It should reverse immediately. Heat can warp sensor housings and knock them out of alignment.
- Listen for metal fatigue. A popping or twanging sound from the spring area when the door moves is your only early warning. It means the spring has developed a stress fracture and is cycling on borrowed time.
October: The Recovery Month
Once the heat breaks, temperatures in Winter Gardens settle into the 70s and 80s. This is the best time for lubrication and deeper maintenance.
- Lubricate the springs. Use a silicone-based spray and coat the entire torsion spring. This protects the steel from oxidation during the damper months and keeps the coils from binding.
- Lubricate hinges and rollers. Spray each hinge pin and the roller stems. If you have nylon rollers, don’t lubricate the wheels themselves. If you have steel rollers, a drop on the bearing helps.
- Clean the tracks. Wipe them down with a rag. Don’t lubricate the tracks, despite what every old YouTube video says. Greasy tracks collect dust and cause the rollers to slip.
- Inspect the seal for winter. The bottom seal that survived summer might now be hardened. It may look fine but no longer compress enough to seal. If it doesn’t feel soft when you press on it, replace it before the winter rains arrive.
November – December: Light Duty
The mild season in Winter Gardens asks very little of your garage door. Keep an eye on:
- Moisture-related rust. Morning fog and occasional rain can accelerate rust on unprotected steel parts, especially the track brackets and cable ends.
- Door balance. A quick monthly balance test takes ten seconds and catches spring fatigue before it becomes a snapped spring.
- Rodent activity. The cool season sends mice looking for warm spaces. Check along the bottom corners for gnaw marks on the weatherstripping. A rodent can chew through a vinyl seal in one night.
Why Summer Is the Worst Time to Lubricate
If you search online for garage door maintenance tips, half the articles will tell you to lubricate in spring and fall. The other half will say do it whenever you feel like it. Neither advice matches the reality we see in Winter Gardens.
The problem is heat. Most big-box garage door lubricants are petroleum-based. They’re cheap, they’re everywhere, and they work fine in moderate temperatures. But when the inside of your garage hits 110 degrees, petroleum-based lubricants thin out. What you sprayed on the hinge pin in June has dripped down the door face by July. What you sprayed on the torsion spring has migrated to the cable drums, where it picks up dust and grime and turns into a gritty paste.
Then the real damage starts. That gritty paste works its way into the bearings of the cable drums and the roller stems. It acts like sandpaper, wearing down surfaces that were never designed to be polished by dirt. By September, a door that was lubricated in June can be louder and rougher than it was before you touched it.
The fix is simple: use a silicone-based lubricant, and apply it when the garage is cool. Silicone doesn’t thin dramatically in heat, doesn’t attract dust the same way, and won’t break down the rubber components. In Winter Gardens, the right time to lubricate is October, after the heat breaks, and again in early spring if needed.
Also worth saying: never lubricate the track. The rollers are supposed to roll on bare metal. If the track is greasy, the rollers slide instead of roll, which wears flat spots on the roller wheels. A flat-spotted roller then vibrates, which loosens hardware, which leads to misaligned tracks. One bad decision cascades into a $300 repair.
We’ve pulled openers off doors in this community where the logic board was covered in a film of oil that dripped down from an over-lubricated rail. The homeowner thought they were being diligent. The petroleum-based lubricant they used had thinned in the heat, dripped into the opener casing, and shorted the board. A $4 bottle of spray cost them an opener.
Weatherstripping That Survives Inland Heat
The standard weatherstripping sold at most hardware stores in the Winter Gardens area is the same product sold in Michigan and Ohio. It’s designed for a climate where the door mostly needs to keep out snow and cold drafts. In our heat, that material fails within two seasons.
Here’s what to look for instead:
- EPDM rubber. This is the gold standard for bottom seals in high-heat climates. It’s the same material used for industrial roofing membranes. It holds its flexibility from below freezing to over 300 degrees. It costs more than vinyl, and it’s worth it.
- Thermoplastic elastomer (TPE). A good middle ground. It handles heat better than vinyl, resists UV degradation reasonably well, and costs less than EPDM. It won’t last as long as EPDM in sustained heat, but it’s a solid upgrade over big-box vinyl.
- Vinyl with UV inhibitors. Standard vinyl weatherstripping will harden and crack in a single Winter Gardens summer. Some manufacturers add UV inhibitors that slow the degradation. It’s better than nothing, but in our experience, it’s a temporary fix. You’ll replace it again in two years.
The bottom seal is the most critical piece of weatherstripping on the door. It’s the first line of defense against heat, dust, rain, and pests. A compromised bottom seal in Winter Gardens means your garage becomes a dust trap during the dry season and a damp, musty box during the rainy season. We’ve seen garages where the bottom seal was so degraded that you could see daylight through a half-inch gap along the entire width of the door.
If you’re replacing the seal yourself, measure the width of the existing seal before you buy. Bottom seals come in several profiles, and they’re not interchangeable. The wrong profile will either fall out of the track or jam the door. If you’re unsure, this is a five-minute job for a professional, and Otto’s Garage Door offers Garage Door Repair in Winter Gardens with upfront pricing quoted before the visit.
One more note: check the weatherstripping where the door meets the frame on the sides and top. These strips often fail before the bottom seal because they’re exposed to direct sun for part of the day. The east-facing side of the door gets morning sun, and that’s usually the side that fails first.
Why Your Opener’s Brain Cooks in Summer
Your garage door opener is a small computer. The logic board, the part that interprets signals from the remotes and sensors, is packed with capacitors, resistors, and microprocessors. Like all electronics, it has a temperature limit.
In Winter Gardens, a closed garage in August can reach 130 degrees on the ceiling where the opener is mounted. Heat rises, and the hottest air in the garage collects right where your opener lives. Most residential openers are rated for operating temperatures up to about 140 degrees. That sounds like enough, but it’s not. Continuous exposure to temperatures near the limit degrades the components faster, even if the opener never fully fails while it’s hot.
What we see in Winter Gardens is silent death. The opener works fine all summer. Then one morning in October, when the garage is finally cool, the opener won’t respond to the remote. Or it responds intermittently. Or it opens half a foot and reverses. The capacitors on the logic board finally gave out, and the cool air exposed it.
Battery backup units are even more vulnerable. Most backup batteries are lead-acid or lithium-ion, and both chemistries degrade faster in sustained heat. A battery that would last three years in a climate-controlled space might last eighteen months in an unconditioned Winter Gardens garage. If your opener has a battery backup and you haven’t tested it in months, now is the time. Unplug the opener and try to open the door. If nothing happens, the battery is dead.
You can’t air-condition your garage, but you can improve ventilation. A passive vent near the ceiling helps. An insulating barrier on the garage door helps more. An insulated door, like those from Clopay or Amarr, keeps the interior temperature more stable and puts less stress on everything in the room, including the opener. If you’re considering a door replacement, Garage Door Installation in Winter Gardens is one of the primary services we provide, and we’ll talk you through the insulation options honestly.
If the opener is straining, the problem is almost never the opener. A door that’s out of balance or binding makes the opener work harder, which generates additional heat inside the motor housing, which shortens the life of the whole unit. Before you replace an opener, check the door. You might save yourself $600.
The Thermal Door Gap: Seal Problem or Panel Warp?
Here’s a scenario we hear about every summer in Winter Gardens: “My garage door has a gap at one corner. It was fine in the winter. What happened?”
What happened is thermal expansion. Steel garage door panels expand when they heat up. A single-car door can grow by an eighth of an inch in the heat, sometimes more. If the door was installed tight to the frame, that expansion forces the panels against the track, and the door can bow slightly. The result is a gap at one corner that appears in July and disappears in January. That’s the thermal door gap.
Is it a problem? Sometimes. Here’s how to tell the difference between a seal problem you can fix and a panel warp problem that needs a professional:
- Close the door and look at the gap from inside the garage. If the gap is between the door panel and the weatherstripping, and the panel looks flat and straight, the seal is the problem. Replace the weatherstripping with a thicker profile or one made of a more heat-resistant material.
- Sight down the edge of the panel. Put your eye at the level of the gap and look along the edge of the door panel. If the panel itself is bowed or curved, the panel is warped. This is a structural issue, not a seal issue.
- Run the door up and down and watch the gap. If the gap changes width as the door moves through the track, the track is misaligned or the rollers are worn. This is an alignment problem, and it’s fixable by a tech with the right tools.
- Check if the gap is present at all times or only on hot afternoons. If the gap appears only during the hottest part of the day and disappears by morning, it’s pure thermal expansion. A different seal profile can often accommodate it. If the gap is permanent, the panel has been permanently deformed.
Panel warp happens gradually. A door that’s been installed for ten years in Winter Gardens heat has absorbed thousands of heat cycles. Eventually, the metal fatigues and loses its shape. When that happens, no amount of seal replacement will fix the gap. The panel needs to be replaced or, if the door is old enough, the entire door. A Wayne Dalton door that’s been in service since the early 2000s has earned its retirement.
One more nuance: if the thermal gap is on the sunny side of the door, it will be worse in the late afternoon, after the door has been baking all day. If it’s on the shady side, the gap will be smaller and more stable. Neither one is a problem you need to panic about. But both are signals that the door is aging, and both are worth getting looked at before the gap becomes a security issue.
Common Mistakes to Avoid
- Lubricating the track. We said it before and we’ll say it again because every other maintenance guide on the internet gets this wrong. Greasy tracks collect dust, ruin rollers, and lead to misalignment. The track should be clean and dry. Only the hinges, rollers, and springs get lubricant.
- Using WD-40. WD-40 is a penetrating oil and water displacer. It is not a lubricant. It will strip any existing lubrication off the hinges and leave them drier than they were before. In Winter Gardens heat, WD-40 evaporates within days. Use silicone spray instead.
- Ignoring a noisy door. A garage door that’s become louder over time is telling you something. Grinding means worn rollers. Popping means spring stress. Squealing means dry hinges. A door that used to be quiet and now sounds like a garbage truck is not “just getting old.” It’s wearing out, and it will cost more to fix the longer you wait.
- Testing the safety reversal with your foot. Put a 2×4 on the floor and close the door on it. If the door doesn’t reverse within two seconds, the opener’s force setting is wrong. This is a safety feature, not a convenience. A door that doesn’t reverse can kill a child or a pet. Check it monthly.
- Working on the springs yourself. The torsion springs above your door are under hundreds of pounds of tension. When they snap, they can remove fingers, break bones, or worse. A door is 200 pounds riding on two springs. Respect it. Spring work is professional work, no exceptions.
- Replacing one spring instead of both. Torsion springs are rated for a certain number of cycles, usually 10,000. When one spring breaks, the other one is usually close behind. Replacing one saves money today and costs more next year. Replace both, reset the balance, and you’re good for another decade.
When to Call a Professional
Some garage door tasks are safe for a homeowner. Checking the balance, testing the sensors, inspecting the seal, and applying silicone lubricant are all manageable with care. But there are times when the right move is to put down the wrench and pick up the phone.
Call a professional if: a torsion spring has snapped or is showing signs of stress fractures; a cable is frayed, kinked, or loose; the door is off its track; the door feels genuinely heavy when you lift it by hand; the opener’s logic board is behaving erratically; or you’ve tried to fix the same problem twice and it keeps coming back. None of these are DIY jobs, and some of them are dangerous enough to cause serious injury.
Otto’s Garage Door offers free estimates in Winter Gardens. Call (619) 935-3793 and a live person will answer, quote the job on the phone, and hold that price when we get there. It’s the same way we’ve done business since 2004.
Frequently Asked Questions
Twice a year is right for this climate: once in October after the heat breaks, and once in early spring before temperatures climb. Use a silicone-based spray on the hinges, rollers, and torsion springs. Never lubricate the track itself. If your door runs loud or rough between scheduled lubrications, something else is wrong, and lubrication is masking the problem, not fixing it.
That’s thermal expansion. Steel panels expand in the heat and can bow slightly, creating a corner gap that disappears when the temperature drops. If the gap closes in the evening or on cool days, it’s thermal. If it’s permanent, the panel has likely warped and may need replacement. Either way, call (619) 935-3793 for an honest assessment with free estimates.
A basic vinyl bottom seal replacement typically runs $80 to $150 including the part and labor. EPDM rubber seals, which hold up far better in our heat, usually run $100 to $200. The exact price depends on the door width and the seal profile. Otto’s Garage Door quotes the price on the phone and holds it at the door, no surprises.
No, and not because we want the business. Torsion springs are under extreme tension and can cause severe injury or death when mishandled. The winding rods, the correct spring size, and the tension setting all require training and proper tools. Leave spring work to a professional. The rest of the maintenance on this page is safe, but the springs are the one place we draw a hard line.
Yes, but the damage is slow and often invisible. Sustained heat degrades the capacitors on the logic board and shortens the life of battery backups. The opener may work fine for years, then fail suddenly. If your garage regularly exceeds 110 degrees in summer, consider adding ventilation or an insulated door. We install Amarr and Clopay doors that make a measurable difference in interior temperature. Ask us about Garage Door Opener in Winter Gardens options when you call.
A loud popping or twanging sound when the door moves is the main warning sign. Deep rust, visible gaps between the coils, or a door that feels heavy when you lift it by hand are also red flags. Springs don’t give much warning before they snap. If you notice any of these signs, don’t wait for the door to get stuck. Call (619) 935-3793 and we’ll check the springs before they fail, not after.
The Bottom Line
Seasonal garage door care in Winter Gardens is not complicated, but it is specific. Your calendar should be built around the heat: prepare the seal and check the door in March and April, monitor passively through the summer, lubricate with silicone in October, and stay light-touch through the mild winter. Most of what goes wrong with garage doors in this community traces back to heat-damaged rubber and stress-fractured springs. Both give warning signs. Neither gets fixed by ignoring them.
If your door is making noise, showing a gap, or hasn’t been inspected in over a year, the next step is simple. Call Otto’s Garage Door at (619) 935-3793. A live person answers, we quote the job before we show up, and the price is the price. That’s the L.O.C.A.L. way we’ve been doing business in Winter Gardens since 2004, and it’s the same way we’ll treat you.
For more on who we are and what we stand for, visit our Otto’s Garage Door home page. If you’re dealing with a specific repair need, start with our Garage Door Repair in Winter Gardens page. If you’re considering a full replacement or a new opener, we have dedicated pages for Garage Door Installation in Winter Gardens and Garage Door Opener in Winter Gardens as well.
Written by Otto Reinhardt, Owner at Otto’s Garage Door, serving Winter Gardens since 2004.